Back in April I attempted to make nanaimo bars by taking Leanne’s recipe from Healthful Pursuit and changing a significant number of the ingredients. Perhaps not surprisingly that didn’t work out so well and I’ve been meaning to try again but stay closer to the original recipe. I’m happy to report that my second attempt worked much better!

I put this recipe under the “Baking” category though arguably no baking is involved here because there’s no time spent in the oven, so this “no bake” recipe is in that category for lack of a better home. In addition these bars are vegan, contain no refined sugar, and are implicitly gluten-free. They’re unfortunately not friendly to someone with a nut allergy, which is what I tried unsuccessfully to accommodate with sunflower butter on my first attempt. They’re also not overly sweet, which was a little surprising to me given all the maple syrup that’s involved, but it makes them a little easier to consume in substantial quantities.
As with my attempt in April I traded the date syrup and xylitol for maple syrup, making that the only sweetener in the recipe. In order to correct the rather disastrous seizing of the chocolate that occurred last time I added two tablespoons of coconut oil into the top layer, based on a suggestion from my sister, and was rewarded with a shiny, smooth, and delicious top. That sums up the modifications this time around, so the lesson I learned was to not mess with the original recipe too much!
Yield: 36-64; it depends on how small you cut up the batch
Preparation Time: 10-15 minutes for each layer, plus about 2 hours of intermediate time in the fridge, plus 30-60 minutes of final setting up time in the fridge. Plan ahead if you want to make these!
Ingredients:
Crust
- 1/4 cup coconut oil
- 1/3 cup unsweetened cocoa powder
- 1/4 cup maple syrup
- 1 tsp vanilla extract
- 1 cup coconut flour
- 1 1/2 cups unsweetened shredded coconut
Filling
- 1 cup almond butter
- 1 tbsp coconut oil
- 1/4 cup unsweetened almond milk
- 1 tsp vanilla extract
Topping
- 4 oz. unsweetened chocolate, chopped
- 1 tbsp coconut oil
- 2 tbsp maple syrup
Directions:
Crust
- Melt the coconut oil over very low temperature.
- Add in the cocoa powder a little at a time and whisk until smooth each time.
- Add the maple syrup and vanilla and whisk until smooth.
- In a medium bowl whisk together the coconut flour and shredded coconut.
- Pour the liquid mixture into the bowl and fold until well combined.
- Press the mixture evenly into the bottom of the baking pan.
- Cover with plastic wrap and refrigerate for 30 minutes.
Filling
- Beat all of the ingredients together on low speed until smooth; about one minute.
- Spread the filling evenly over the bottom layer.
- Cover with plastic wrap and refrigerate for 45 minutes.
Topping
- Melt the coconut oil over very low temperature.
- Add the chocolate and melt until smooth.
- Move the pan away from the heat, add the maple syrup, and stir until well combined.
- Pour the melted chocolate evenly over the filling; be careful to not pick up any of the filling when spreading. Gently shaking the pan in a horizontal circle can help distribute the chocolate mixture.
- Refrigerate for about 15-20 minutes; just until the chocolate has set. Don’t wait too long or it will be impossible to cut the bars.
- Cut into squares of desired size with a sharp knife, cover with plastic wrap, and return to the fridge to allow the chocolate to set; about 30-60 minutes, though longer won’t hurt them at all.
Thoughts:
- In terms of flavor and consistency for the filling and topping this batch far exceeded my first attempt. As I had noted the first time around the crust worked out fine, and it did this time as well with no modifications to what I had made in April.
- Though I used two tablespoons of coconut oil in the topping to make the batch featured in these photographs I recommend only one tablespoon for the recipe. I think that would have been plenty to keep the chocolate smooth when adding in the maple syrup and less coconut oil should mean the chocolate will set faster. I will be making another batch of these soon and will correct that statement if needs be!
- I wasn’t thinking very far ahead when I started cutting up the bars, I just figured I had an 8×8 pan so I’d cut to the same dimensions, and thus I wound up with “mini nanaimo bars” or “nanaimo bites” depending on how you want to think about it. Cutting into 6×6 or 7×7 would yield a better size unless you’re following the tried and true method of making smaller treats so that people will eat more and feel less guilty about it!
Step by Step:
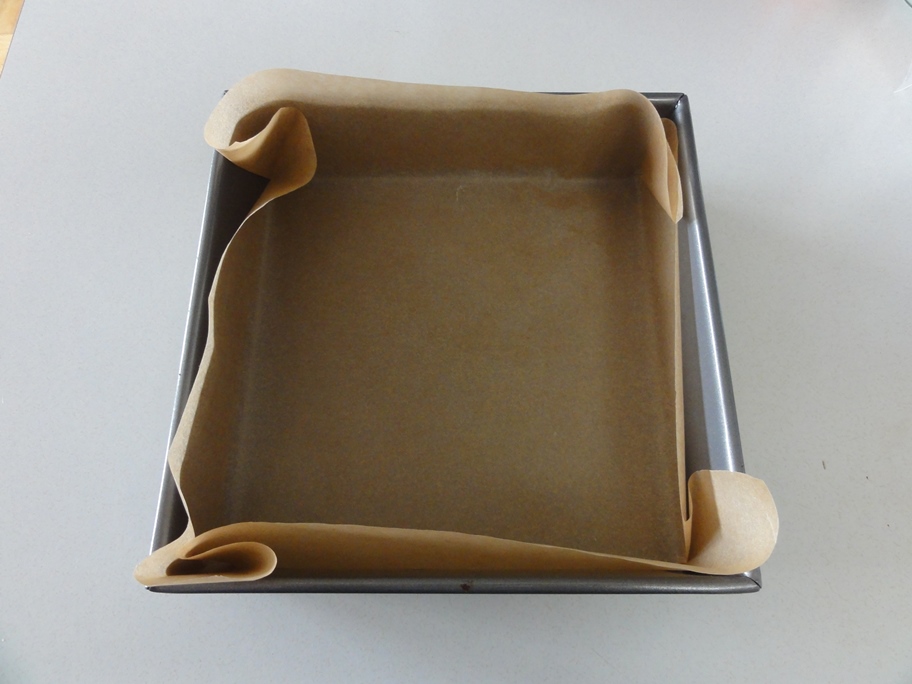
Parchment paper origami:
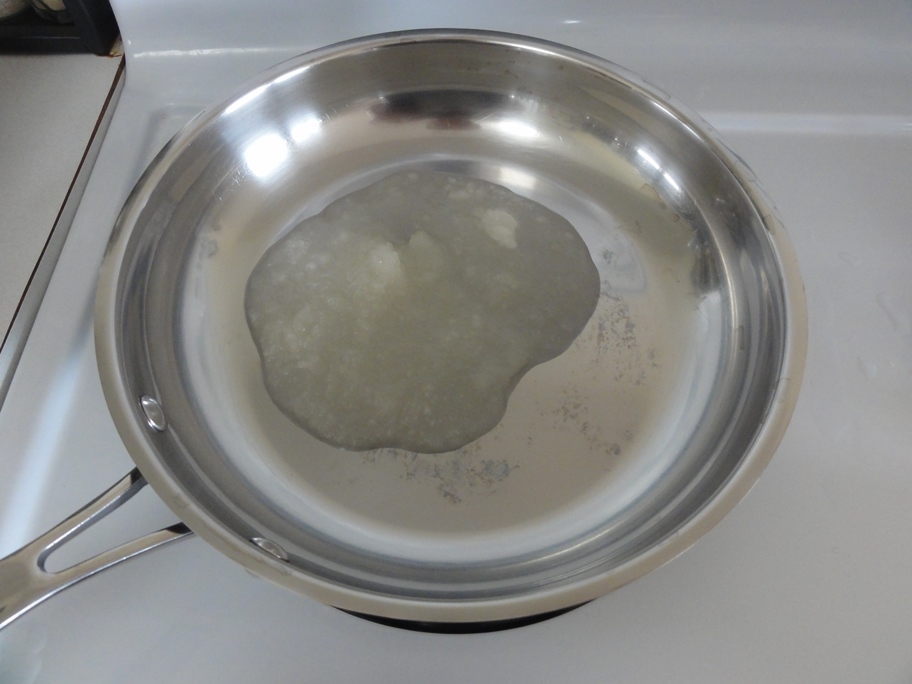
The coconut oil will be clear when melted.

Then you can dust in the cocoa powder, whisking until you have a smooth consistency each time. After that’s done you can add in the maple syrup and vanilla and whisk until smooth again.

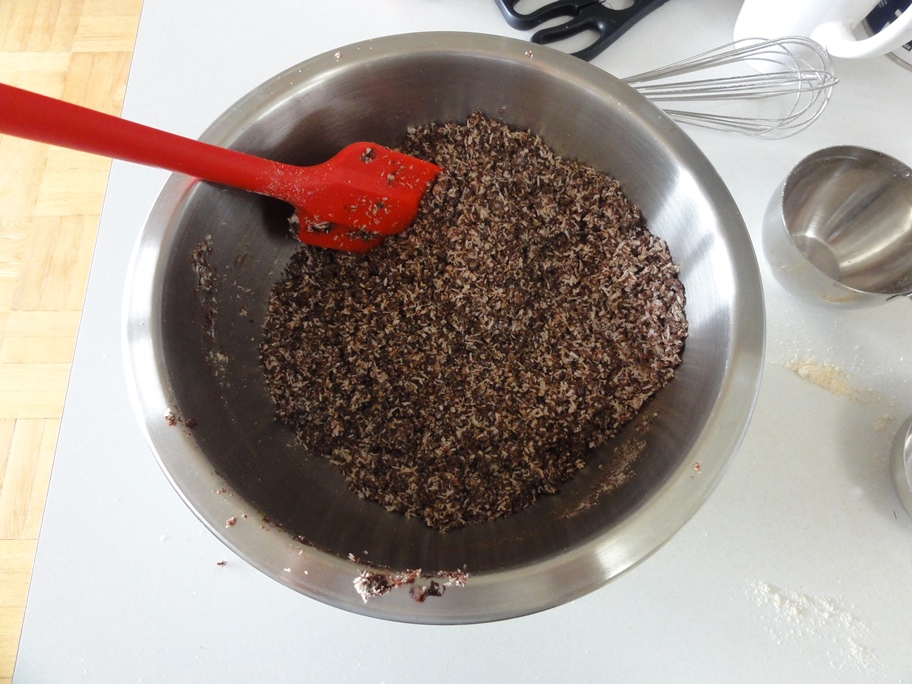
When mixed together your coconut flour and shredded coconut should have an even color and consistency.

After folding in the chocolate mixture the result may seem a little dry or crumbly. That’s okay because pressing it firmly into the pan and then all that time spent in the fridge will result in it holding itself together well enough.
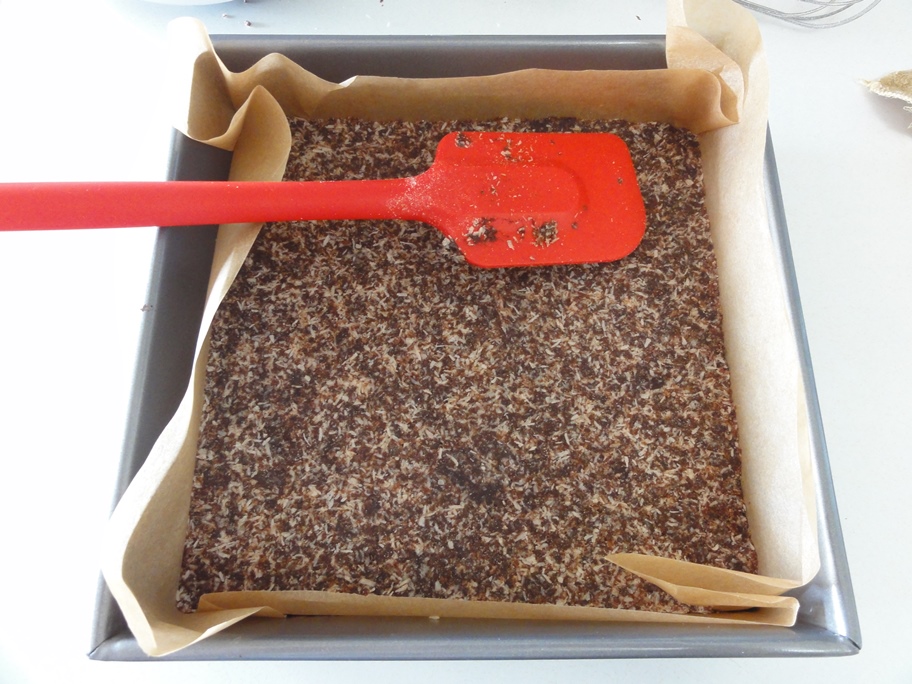
Keep pressing the crust mixture into the pan until you have a relatively even surface.
Unfortunately I neglected to take an action shot of the Kitchenaid blending together the filling ingredients so I’ll have to ask you to settle for two shots of the mixture going into the pan.

Thanks to the 1/4 cup of almond milk the filling should be easy to work with and spread evenly over the crust.

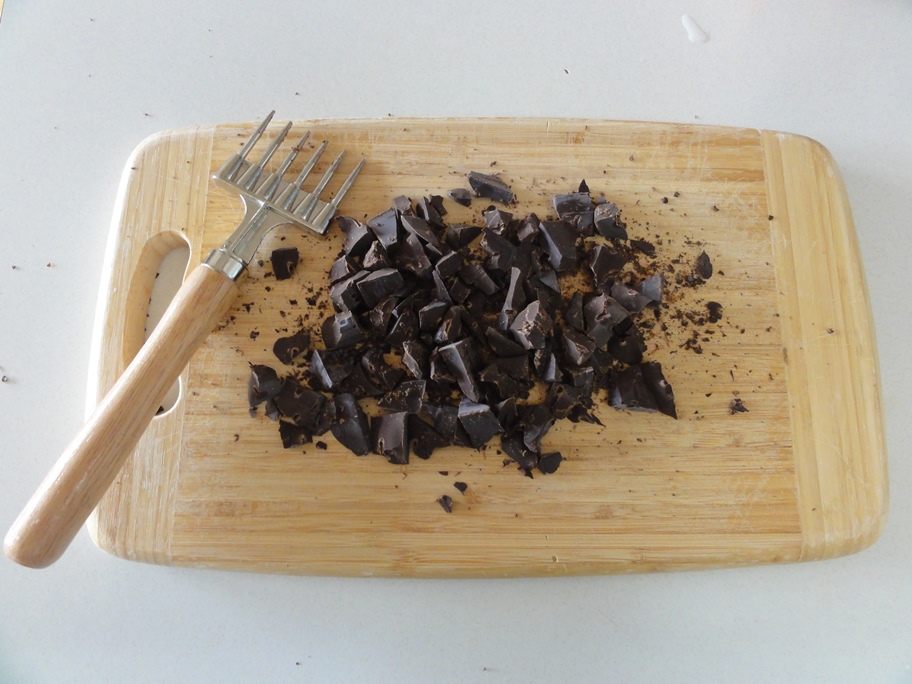
It’s chocolate chipping time!
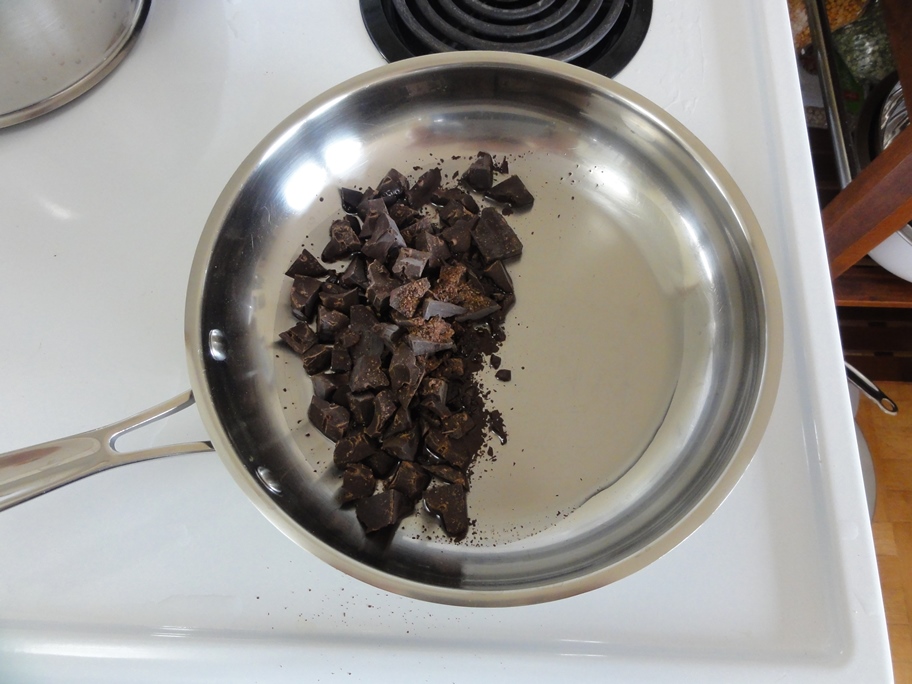
Melt the coconut oil first, just as you would with melting butter first before adding in chopped chocolate when making something like these.
To avoid the chocolate seizing on you and turning nasty make sure the chocolate and coconut oil mixture is smooth, ensuring that the oil has distributed well throughout the chocolate, before you add in the maple syrup. If you can see your face reflected in the surface of the chocolate that’s pretty good.
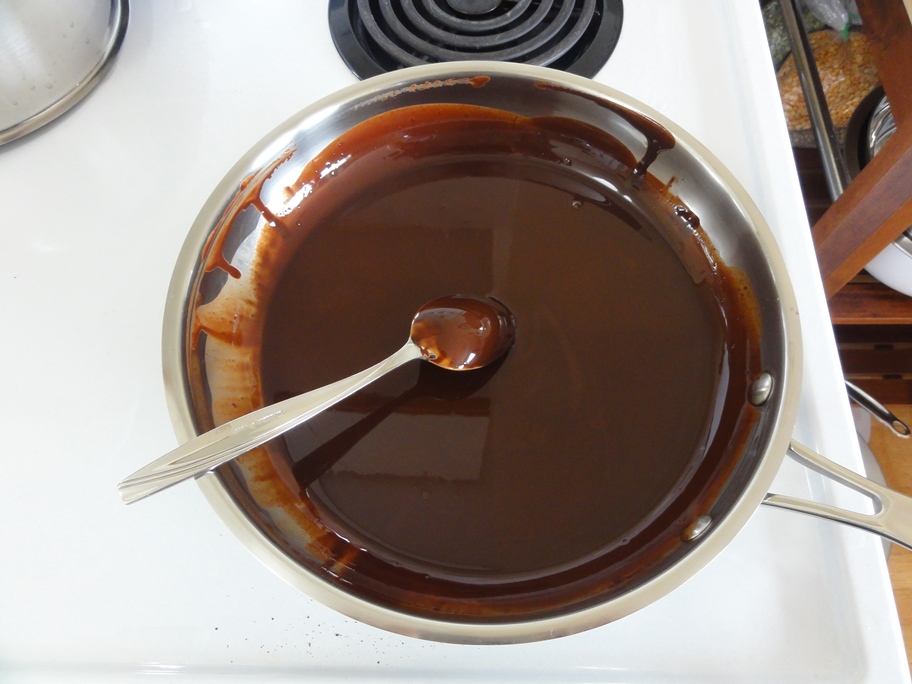
I recommend removing the pan from the heat before adding the maple syrup. It may not make that much of a difference with keeping the mixture from seizing up given how low the temperature should be here, but every little bit counts when we’re talking about the risk of ruining perfectly good chocolate!

You should be able to pour the chocolate smoothly into the pan and over the filling. When spreading the chocolate around be careful to avoid touching the filling with the spatula or it might pick up into the topping and mess up the glossy finish. I shook my pan around in horizontal circles on my kitchen counter to spread the chocolate evenly.
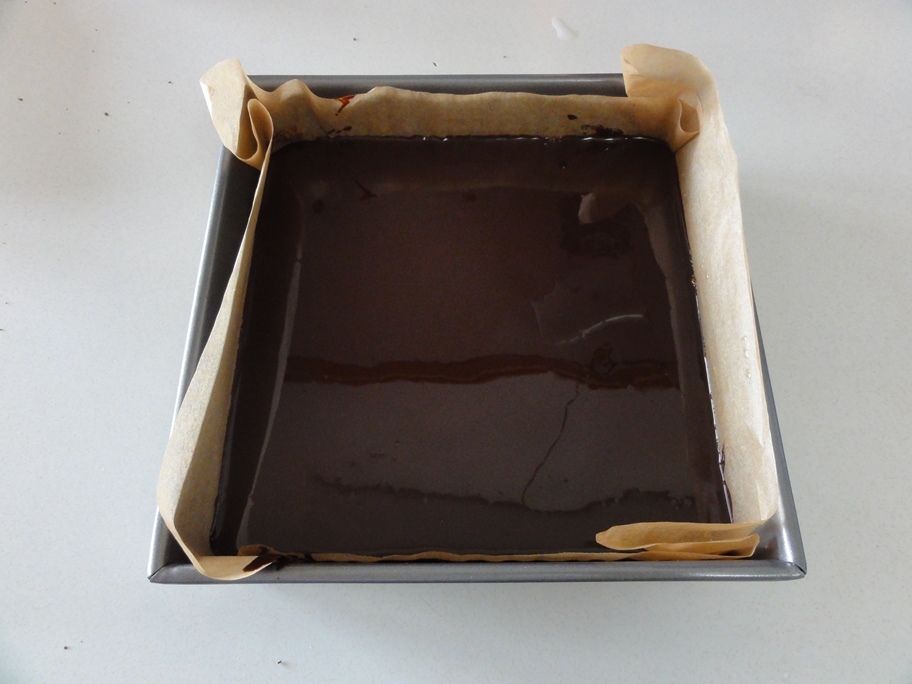
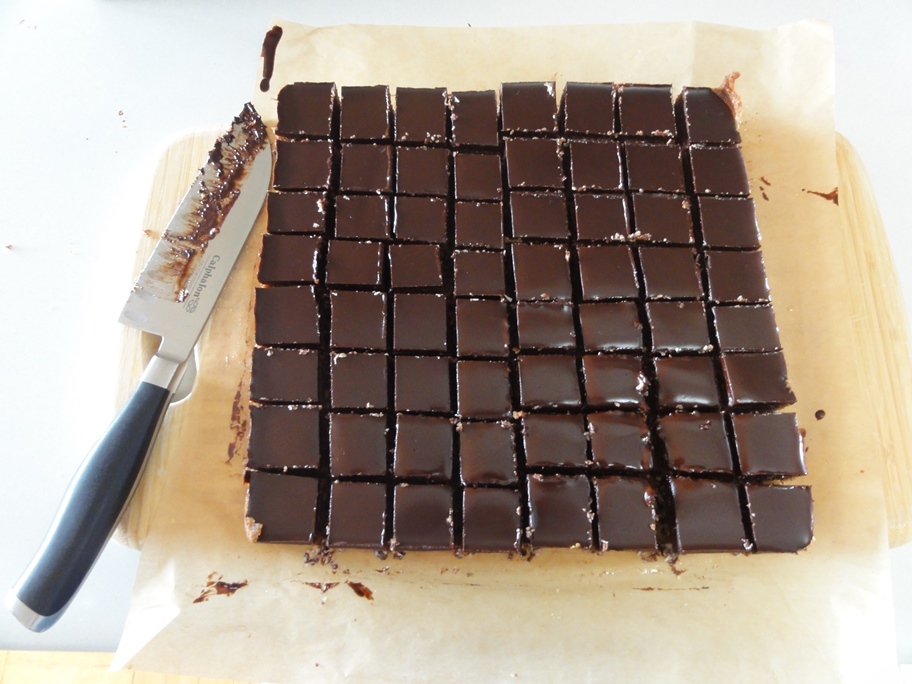
After 15-20 minutes the chocolate should have set enough to allow you to cut it without messing up the topping too much. The little mark on the right-hand side of this photo was my test with a sharp knife to see if the chocolate was ready.

I wound up cutting so small that I got nanaimo bites!
I didn’t want the plastic wrap to touch the surface of the chocolate while it was still a little liquid so I made a tent with toothpicks.

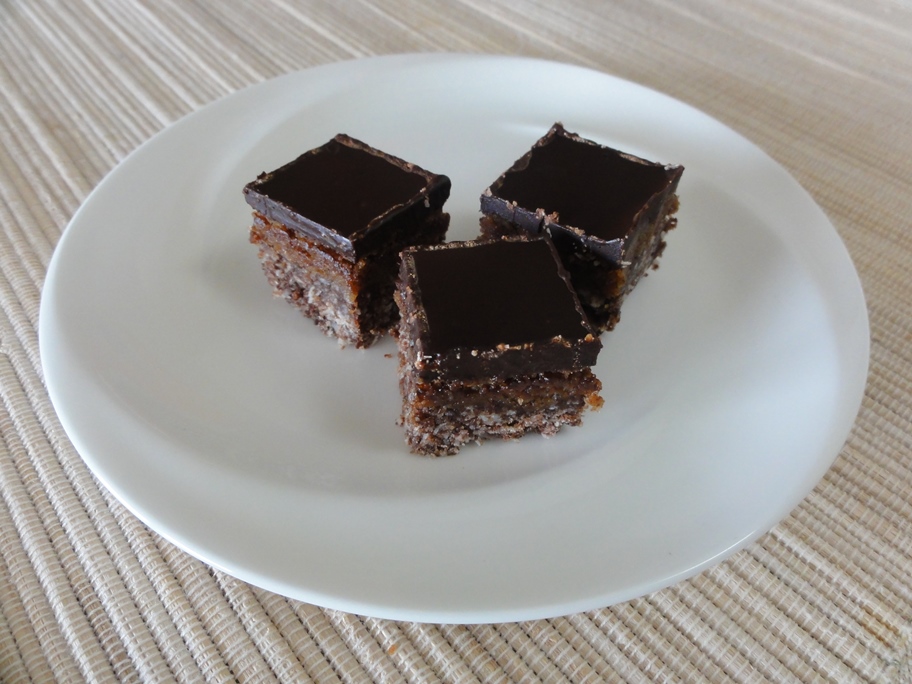
Finally set up, the chocolate should have a hard, smooth, matte finish, and then your nanaimo bars/bites are ready to eat!

Pam
September 15, 2013 at 2:57 pm
Lovely!!!
Andie Duncan
September 16, 2013 at 5:18 pm
Wall o’ chocolate … yum!