You have to go back to March to find a recipe here that doesn’t in some way involve chocolate. I’m okay with that, it says I enjoy chocolate, which is very true. That being said, in the spirit of variety here is a recipe that stands on its own just fine without a hint of chocolate. The thanks this week go to Carol Clements’ “The Cook’s Encyclopedia of Baking“, which is a great all-purpose cookbook.
I first made these cookies somewhere around two years ago and noted at the time how much they spread out and flattened in the oven. The picture in Carol’s book was a clue that this was going to happen, and flat cookies aren’t necessarily a bad thing, but this time around I wanted to see if I could adjust the recipe so that they’d hold their shape better. I only took small steps by lowering the amount of butter and sugar from the original and compensating slightly by lowering the quantity of oats but not the amount of flour. It’s fair to say that I don’t know what I’m doing from a scientific standpoint; I’m just playing around with the ingredients to see what happens. This is otherwise known as the “tinkering” approach.
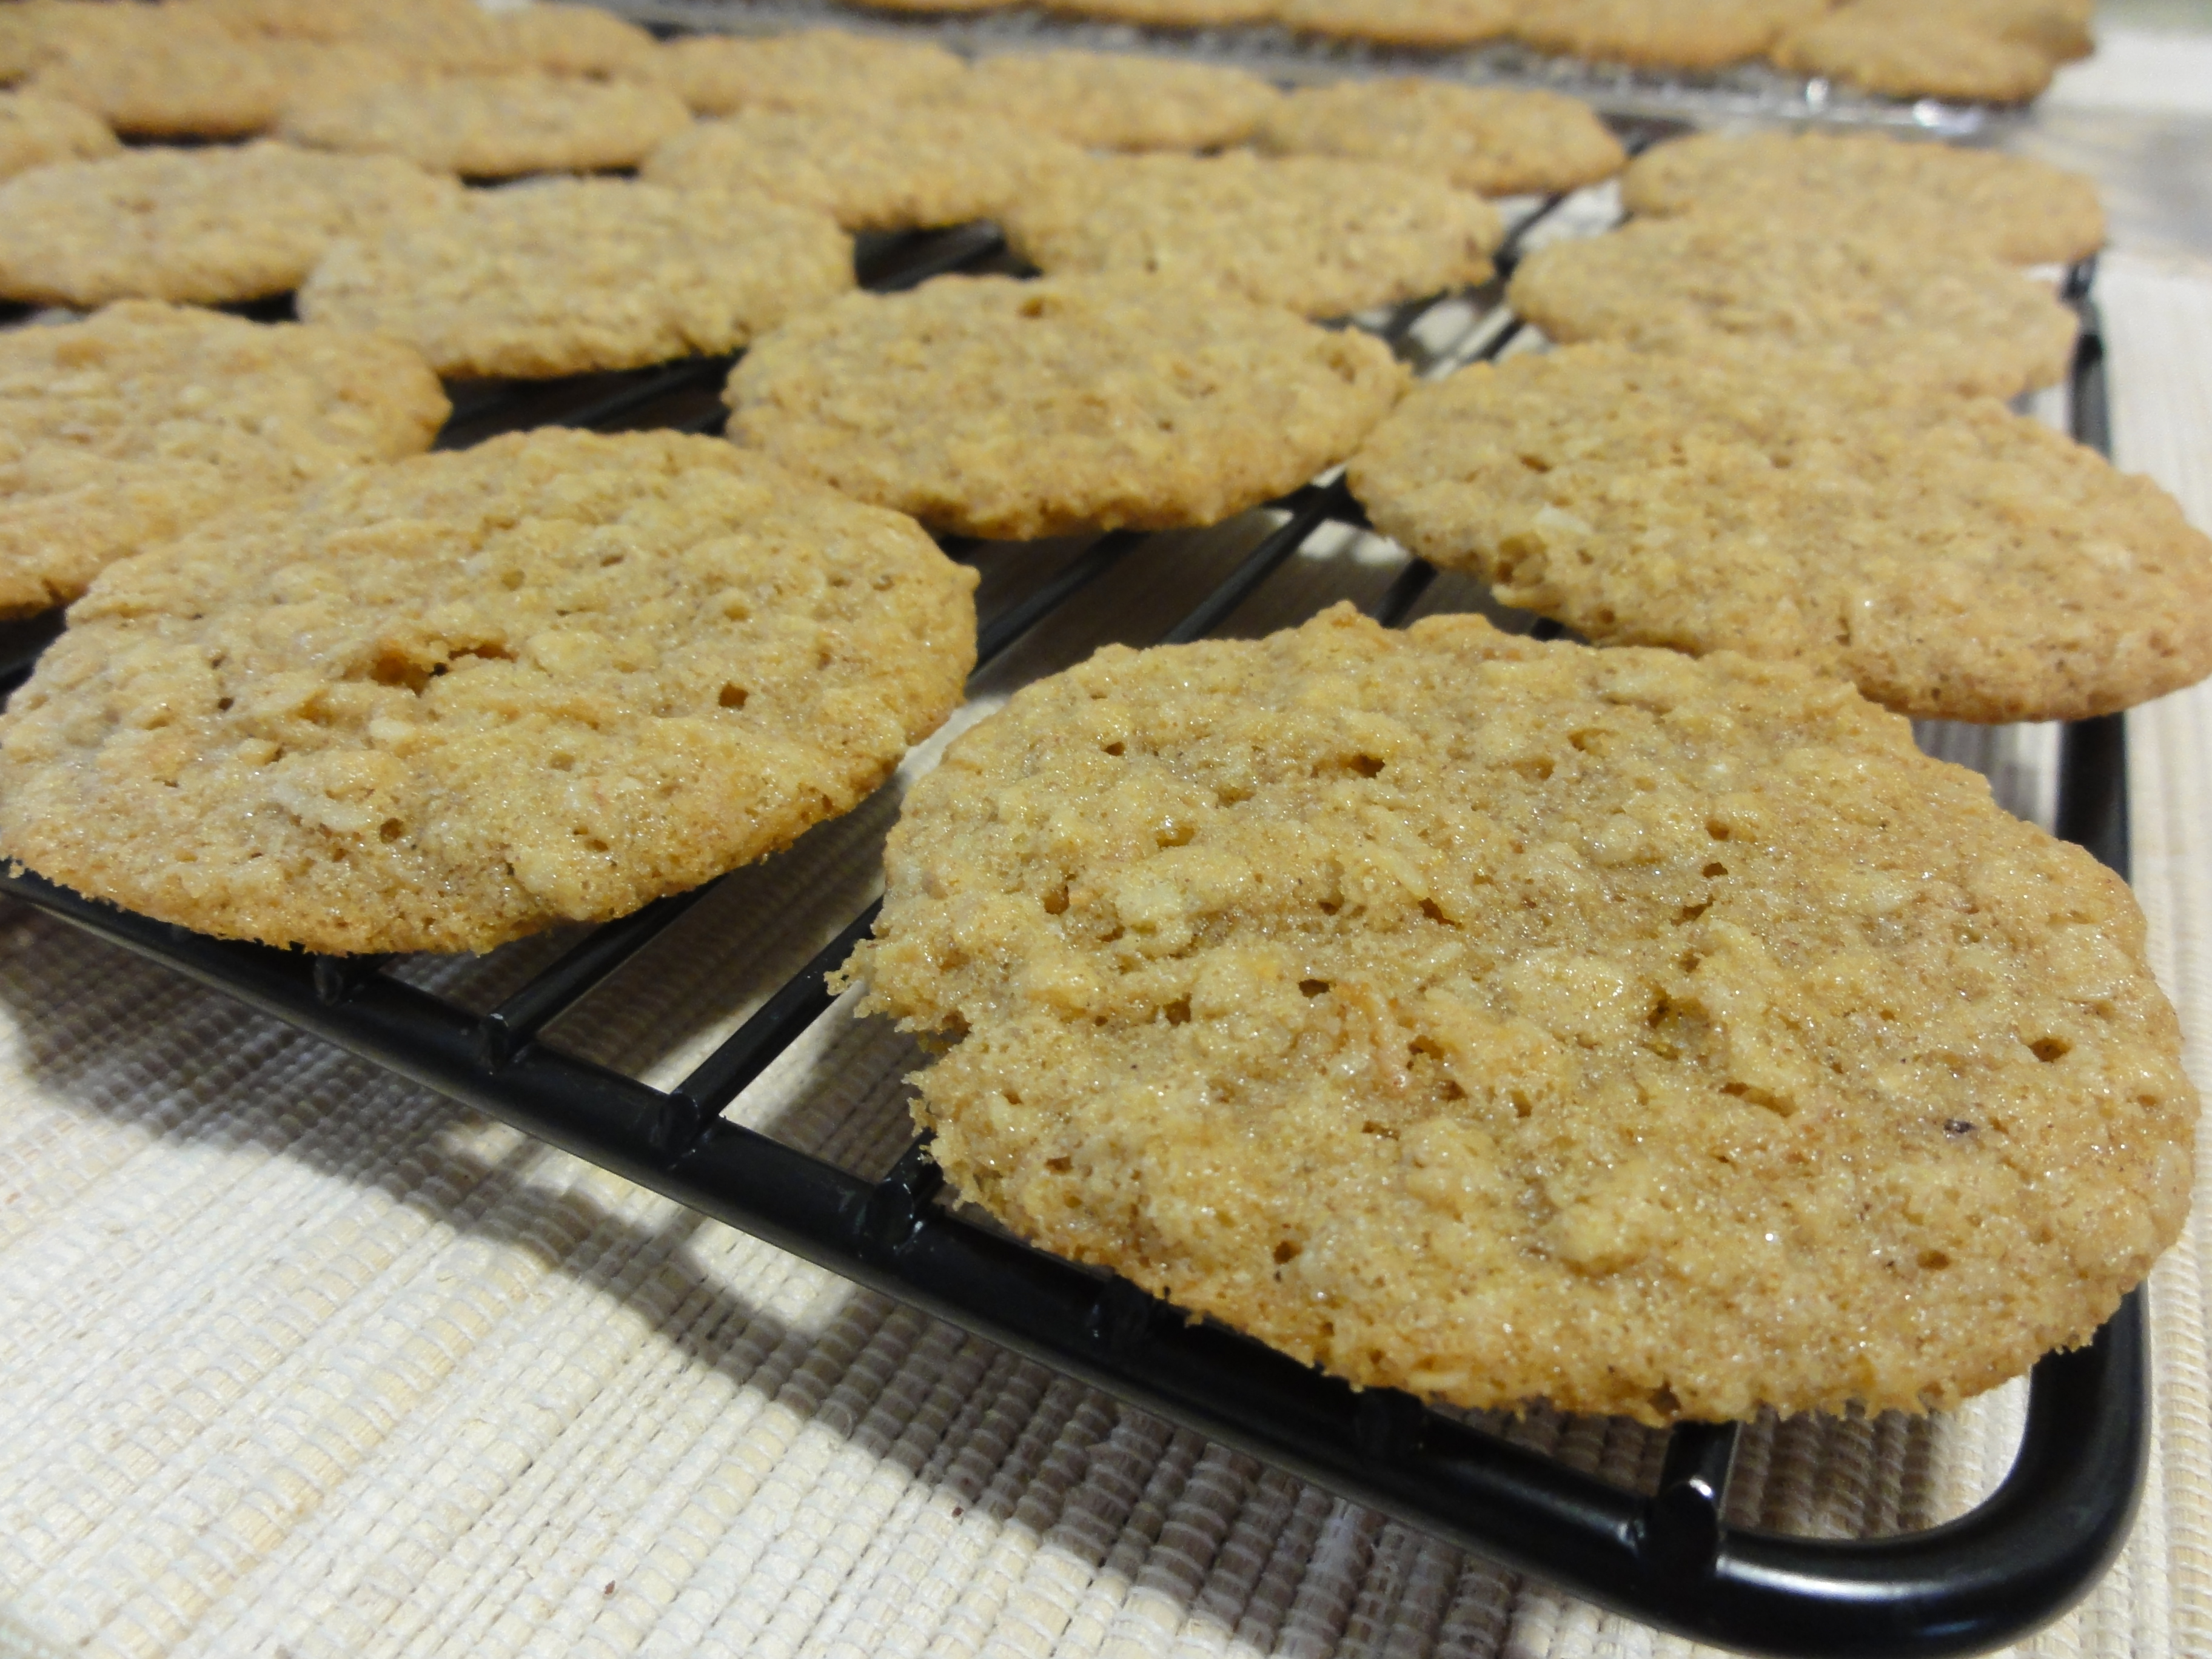
The result from my tinkering was not at all disappointing on flavor and texture. I had also noted way-back-when that the cookies were a little sweet for my taste; lowering the sugar took care of that. This particular attempt produced a light, just-a-little-bit sweet, oatmeal cookie that holds itself together well and is easy to consume in large quantities. No frills, no flare; just a good cookie. Can you really argue with that?
I can, apparently! As per the above picture they still flattened out so I’m going to make these again sometime in the near future and reduce the butter and sugar a little further to see if I can get closer towards my goal of a light, soft, chewy, and reasonably thick oatmeal cookie base. I have designs on adding frills and flare and want to get to a solid base first before I start experimenting. Assuming my next attempt works any better I’ll post it as an update.
Yield: 4-5 dozen
Preparation Time: 20-30 minutes
Ingredients:
- 2 cups quick-cooking oats
- 1 cup shredded coconut
- 3/4 cup butter, softened
- 3/4 cup dark brown sugar, packed
- 2 eggs
- 3 tbsp cream/milk/non-dairy milk
- 1 tsp vanilla
- 4.5 oz gluten-free flour (1 cup wheat flour)
- 1/2 tsp baking soda
- 1/2 tsp salt
- 1 tsp cinnamon
Directions:
- Preheat oven to 350°F.
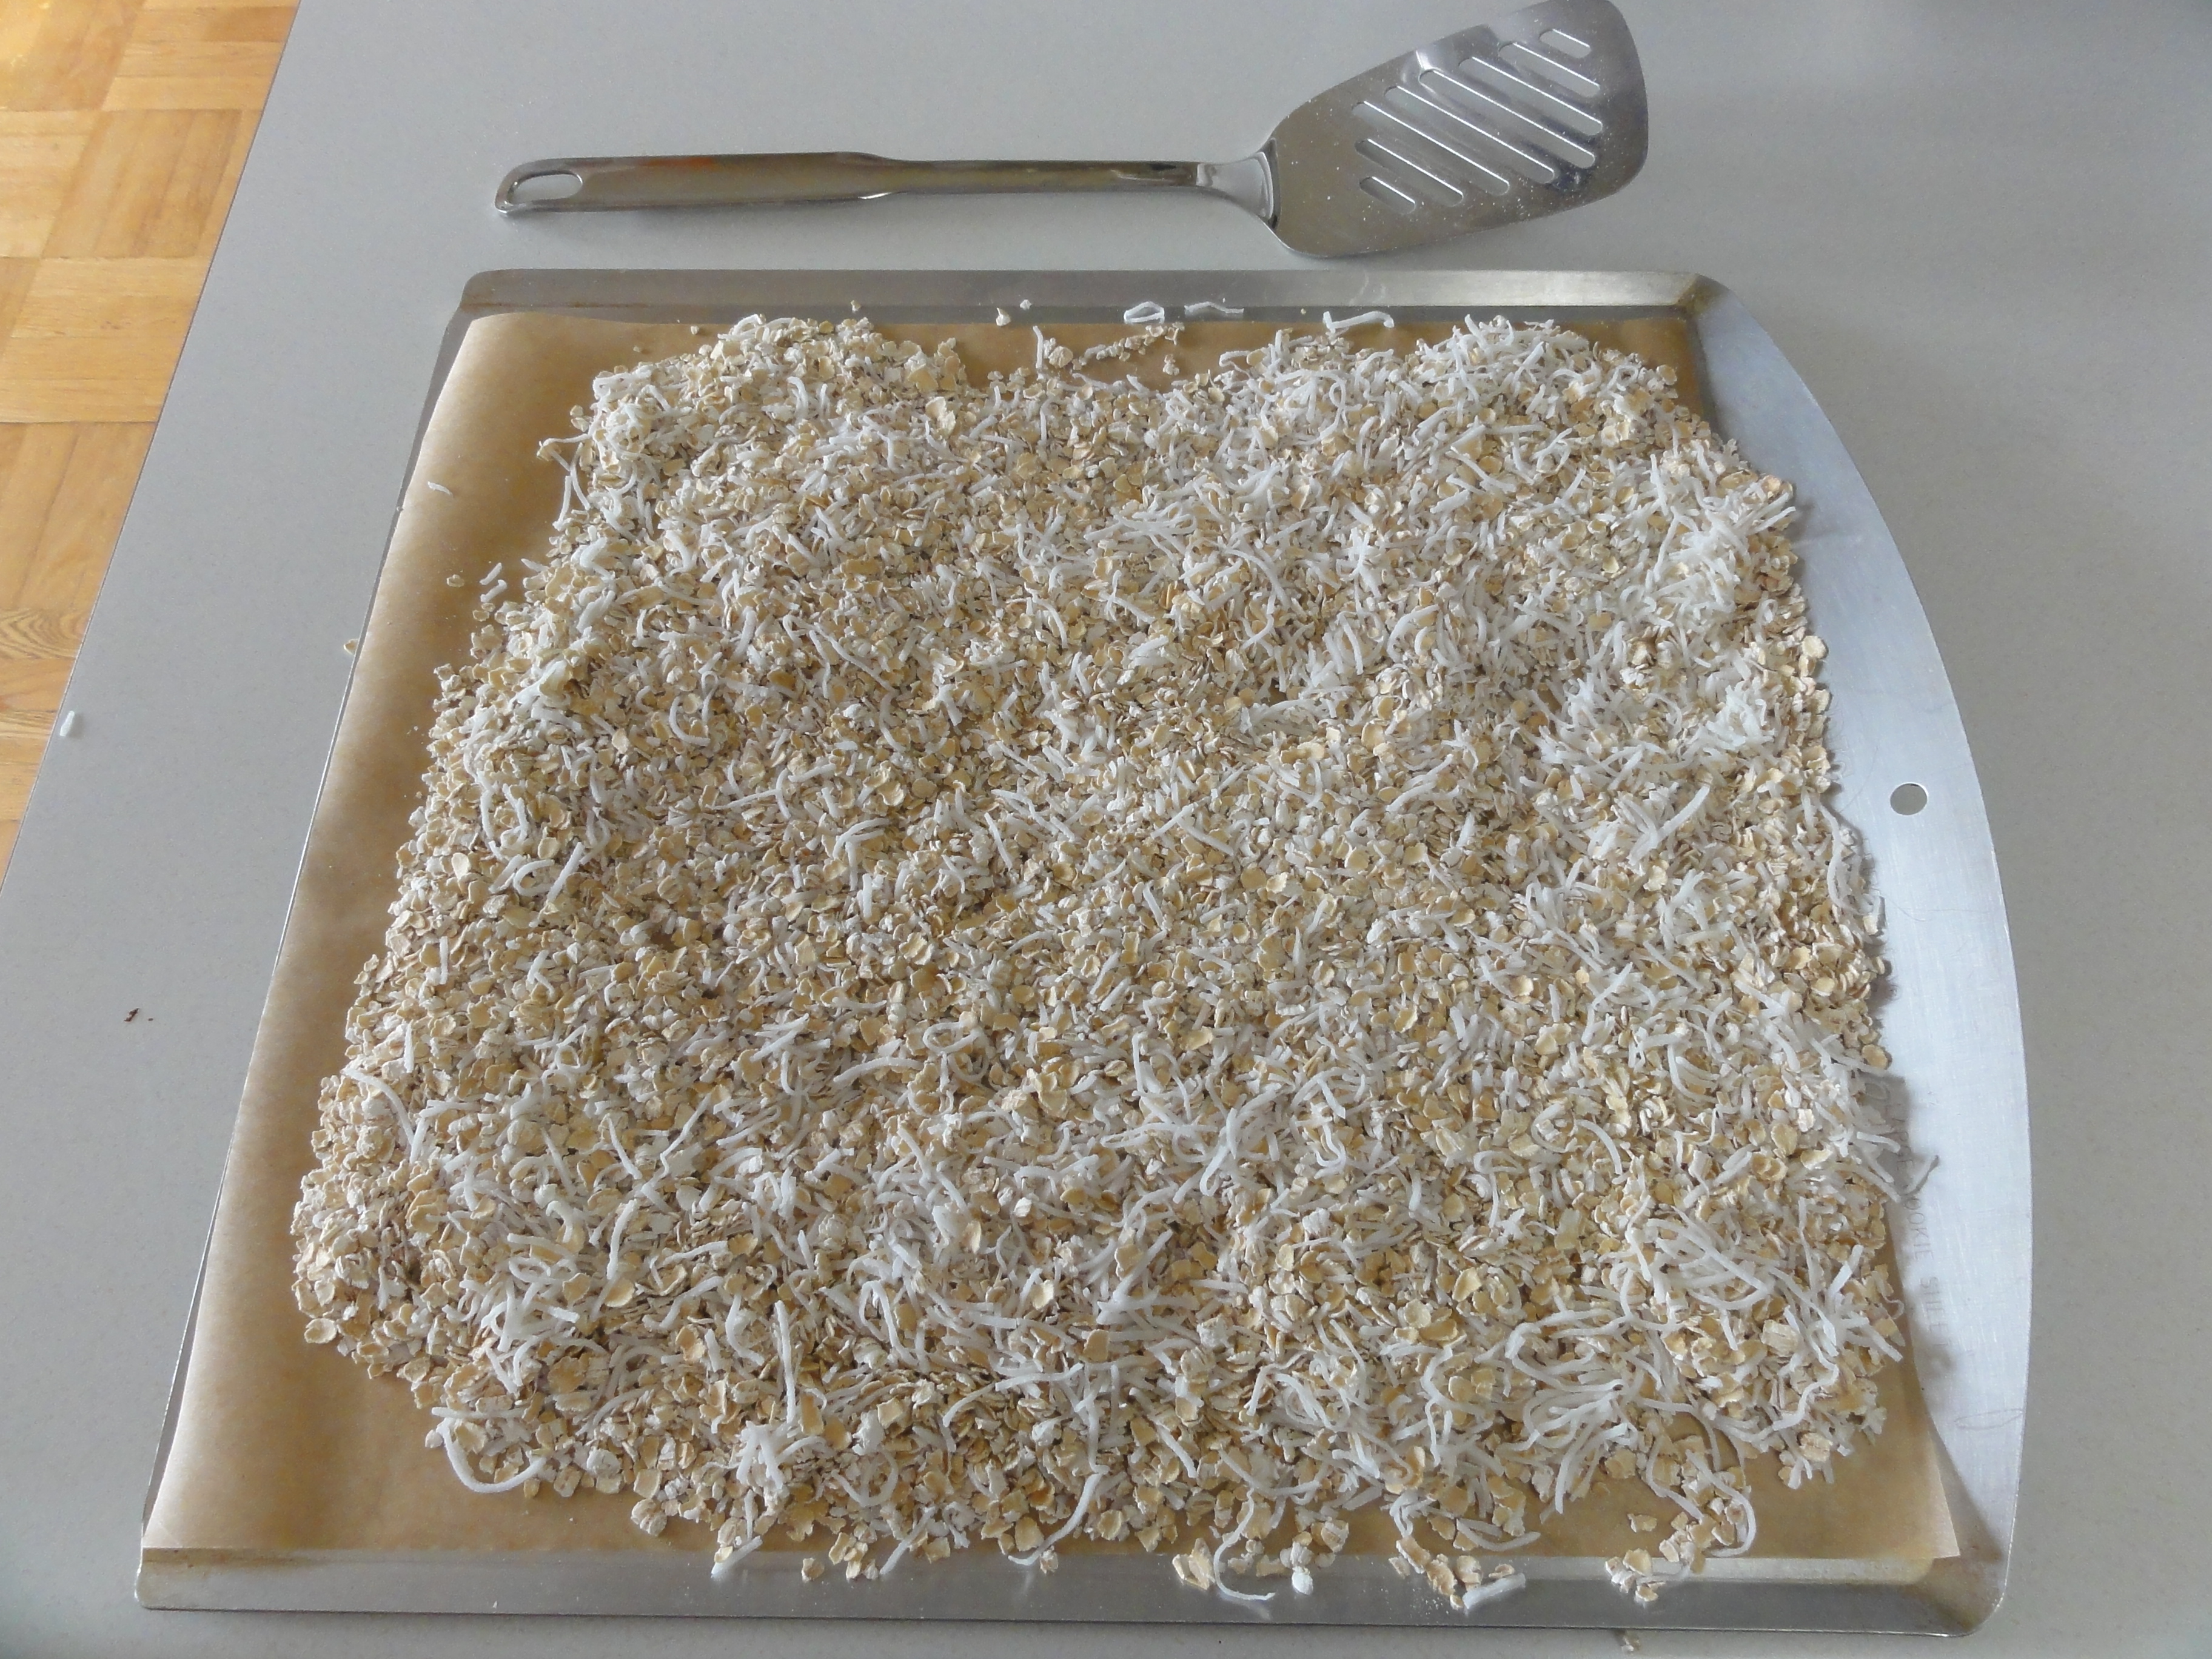
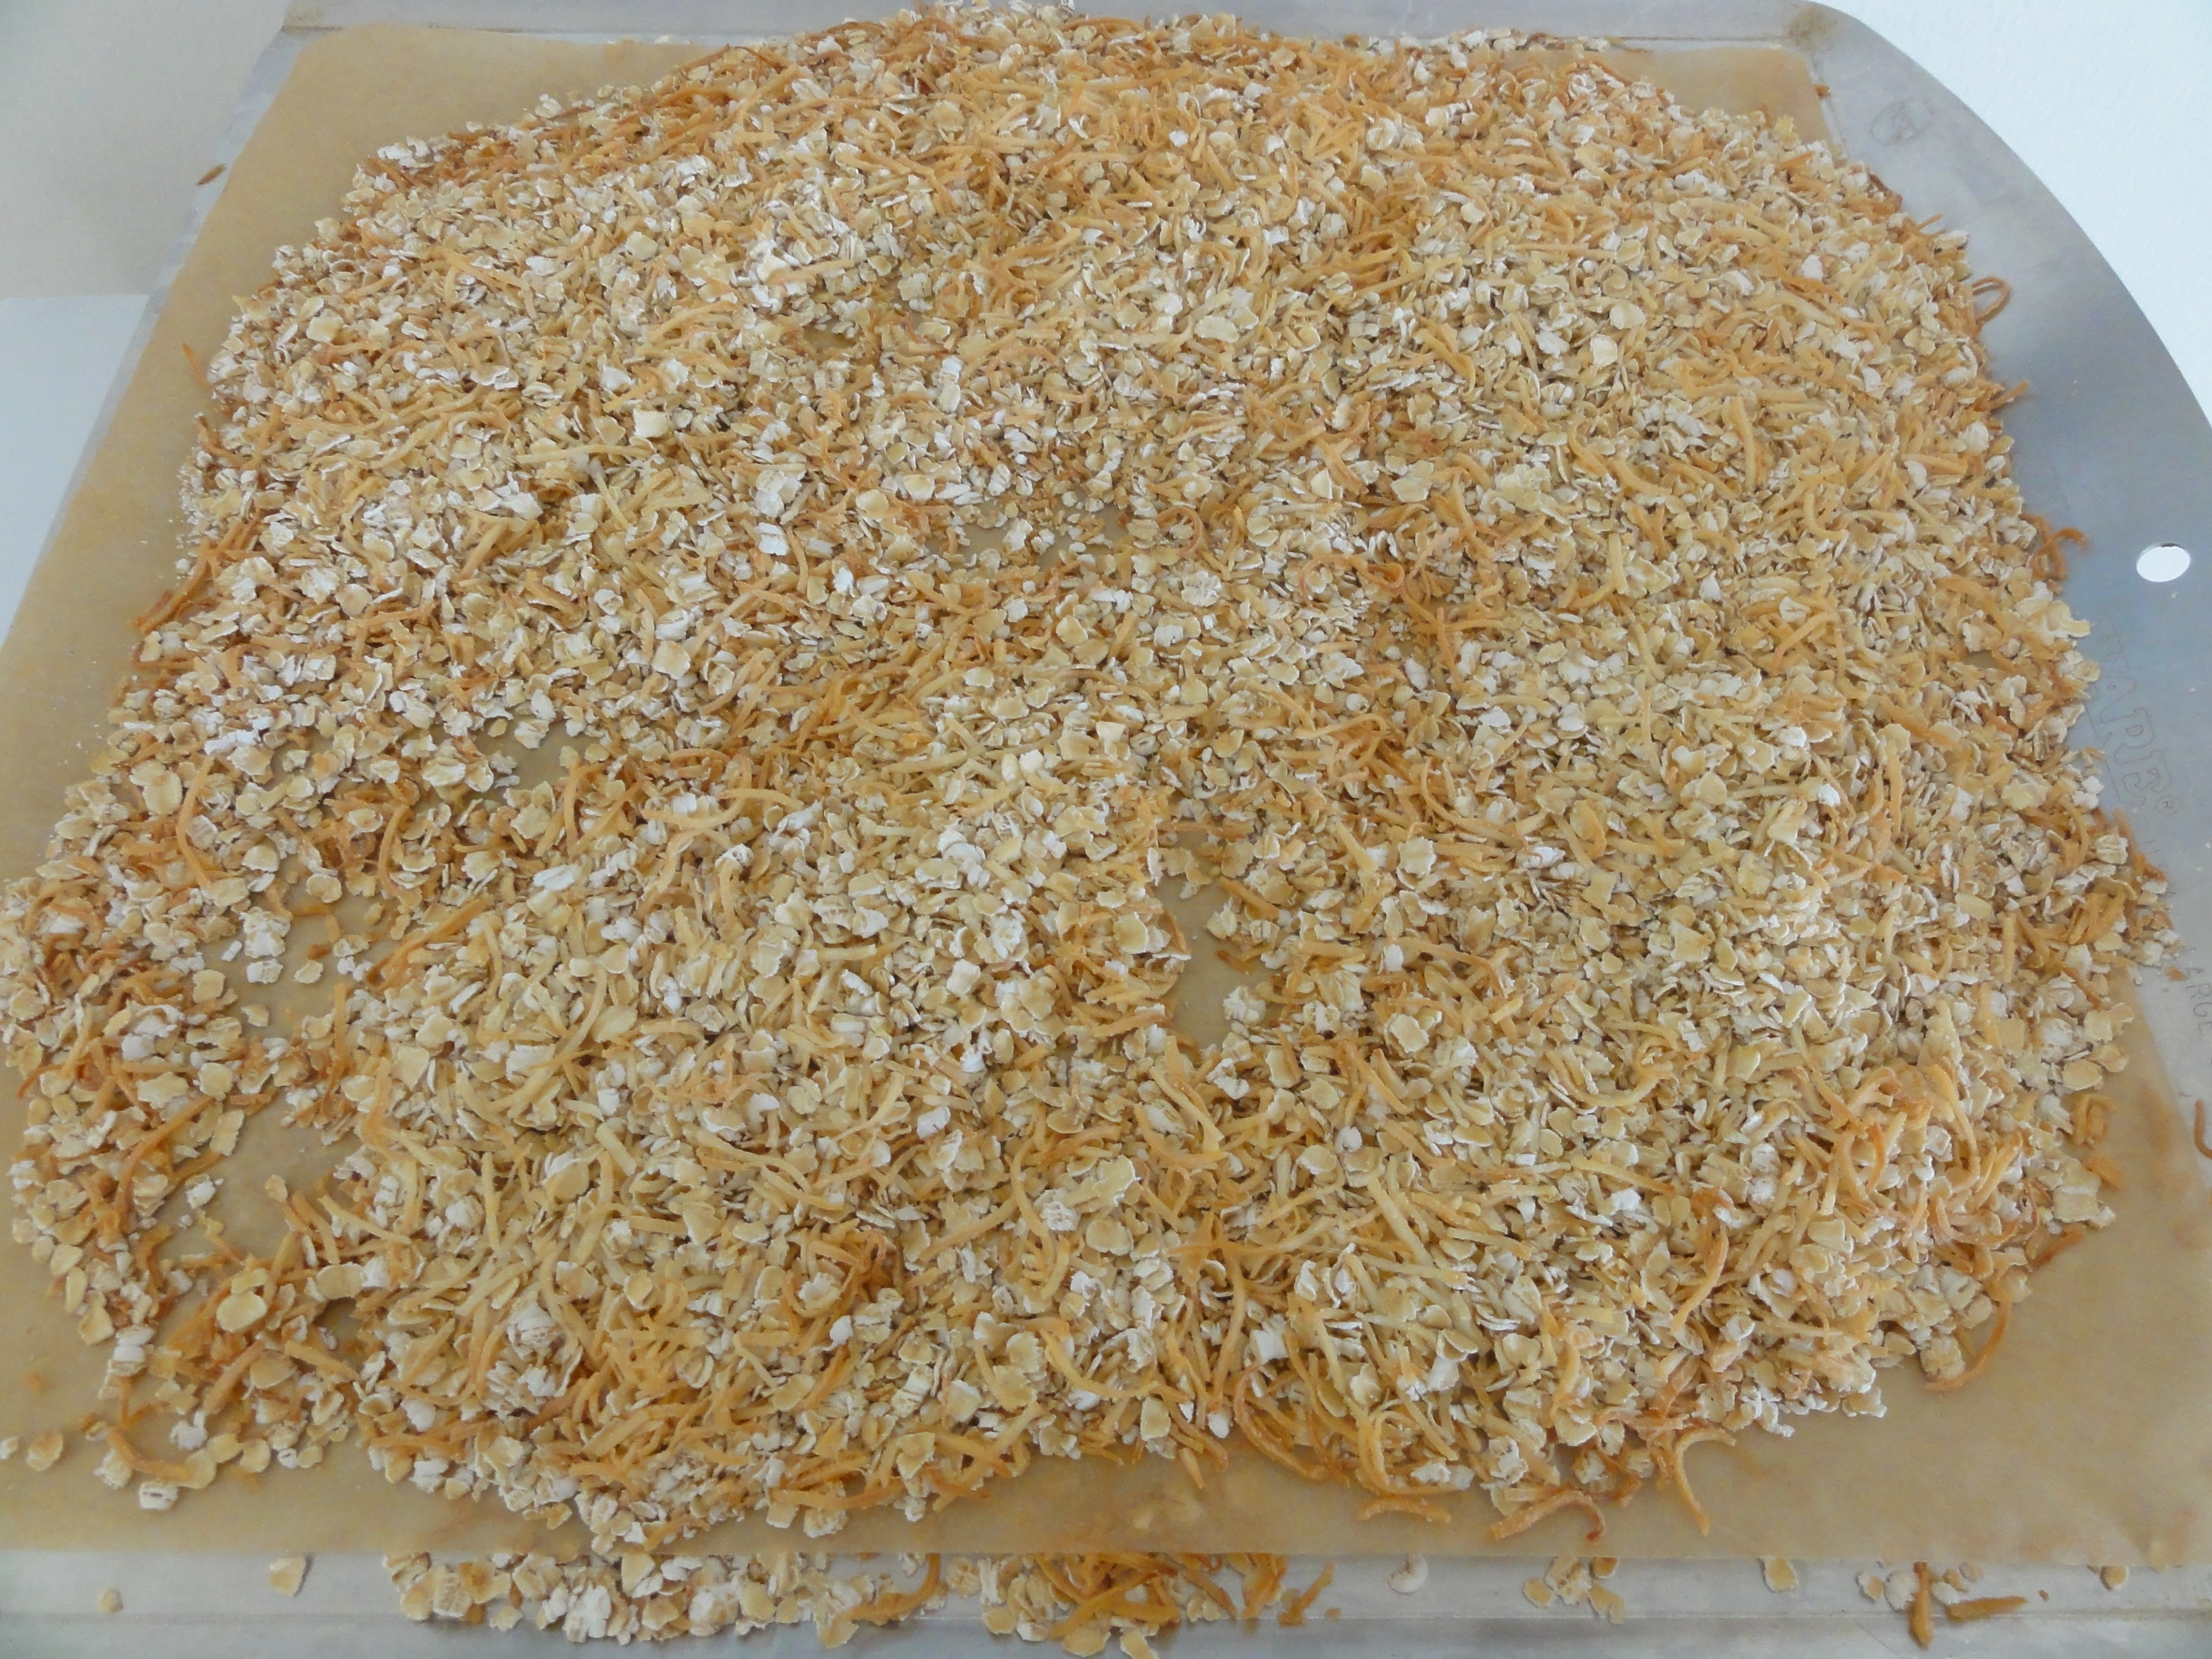
- Spread oats and coconut on a clean (not greased, not lined) baking sheet and bake until golden brown, stirring occasionally; about 8-10 minutes.
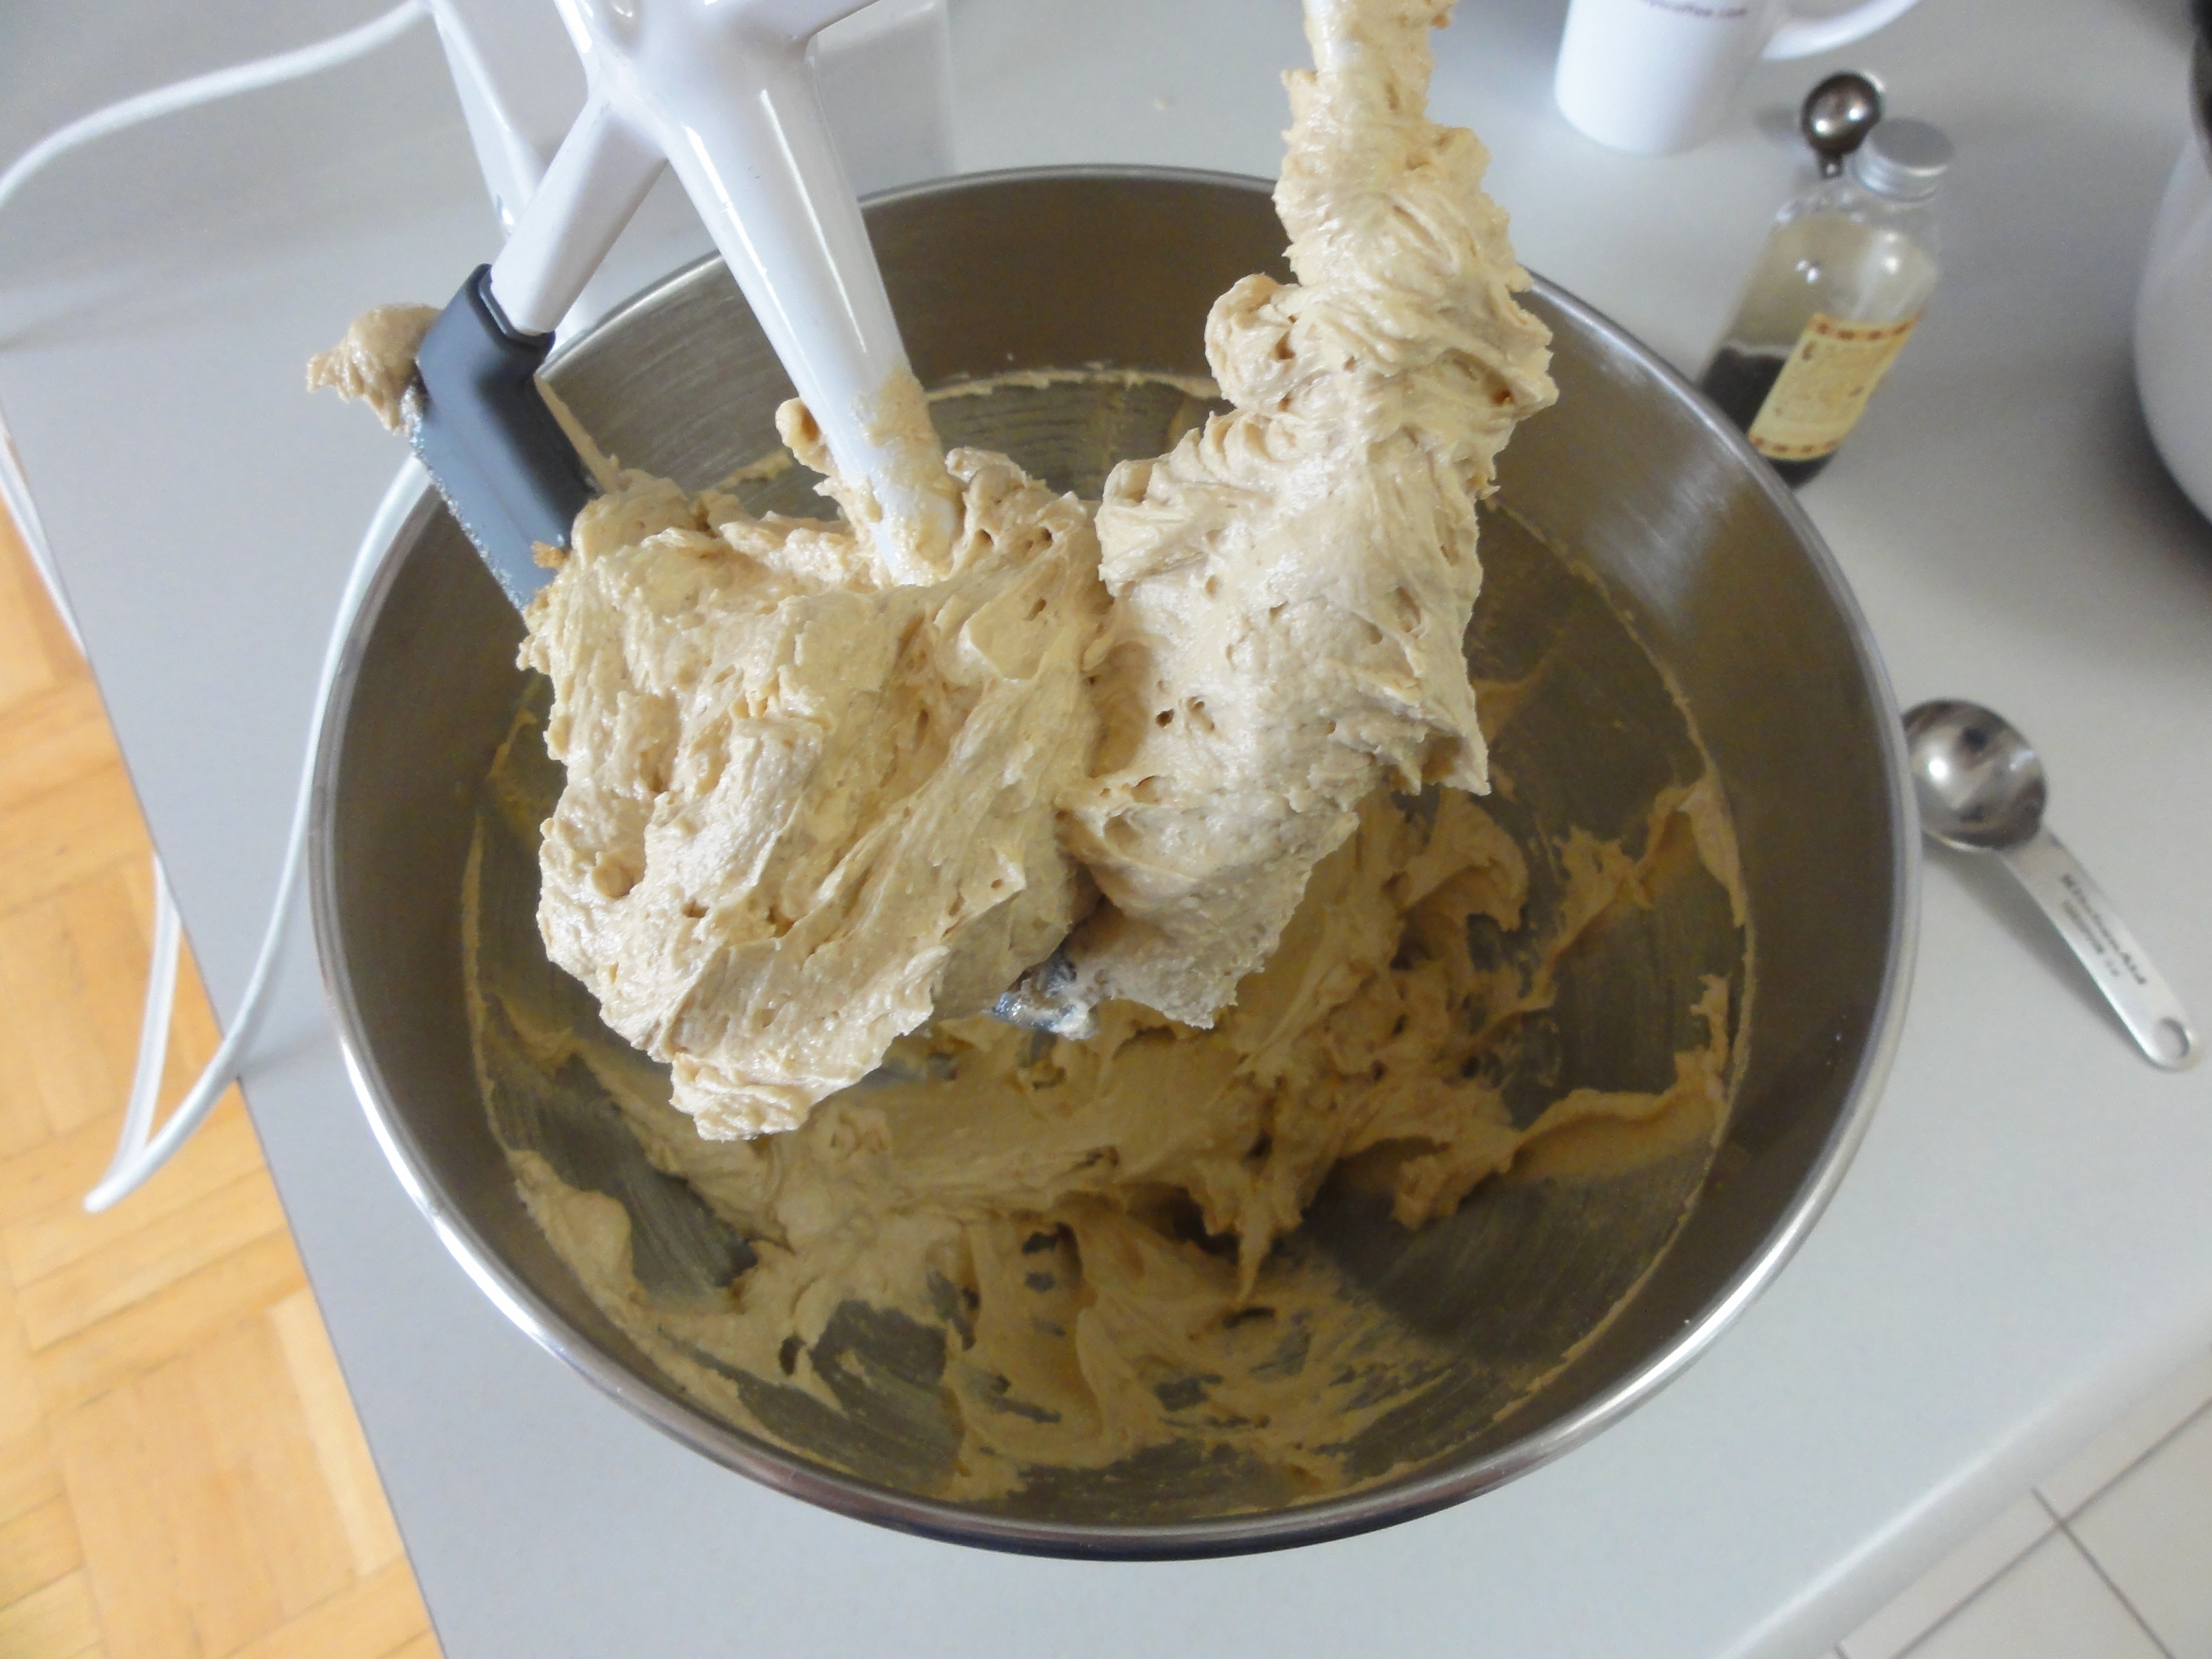
- Cream the butter and sugar together until light and fluffy; about 2-3 minutes on medium speed.
- Beat in the eggs on low-medium speed, one at a time, and then the cream and vanilla, until well-combined; about 2-3 minutes.
- Whisk together the dry ingredients in a medium bowl.
- Fold the dry ingredients into the wet and mix until just combined.
- Fold in the toasted oats and coconut.
- Drop tablespoon-sized amounts of dough onto lined baking sheets.
- Bake for 10-12 minutes until the edges are golden brown.
- Let cool for 5-7 minutes on the trays and then transfer to wire racks to cool completely.
Thoughts:
- In addition to messing with the quantities of butter, sugar, and oats from the original recipe I also stuck the dough in the fridge for an hour after everything was mixed together. I’m not convinced though with this particular recipe that it made any difference so I omitted that step from the directions above. Considering the toasting step for the oats and coconut, this way you’re not running up the oven twice, and as another plus, this saves an hour of waiting for cookies!
- As you’ll see below I did not follow my own instructions for step 2 and lined my baking sheet with parchment paper for the toasting step. I don’t recommend doing this because when gently stirring the oats and coconut the paper had a tendency to lift up and result in the oats and coconut spilling either into the oven or underneath the paper. The oats and coconut shouldn’t burn for the 8-10 minutes they’re in the oven on a clean baking sheet.
Step-by-step:
Before and after toasting. As per my comment above, I recommend not using parchment paper here. I also suggest keeping a close eye for the last couple of minutes as the coconut especially will start to brown in a hurry.
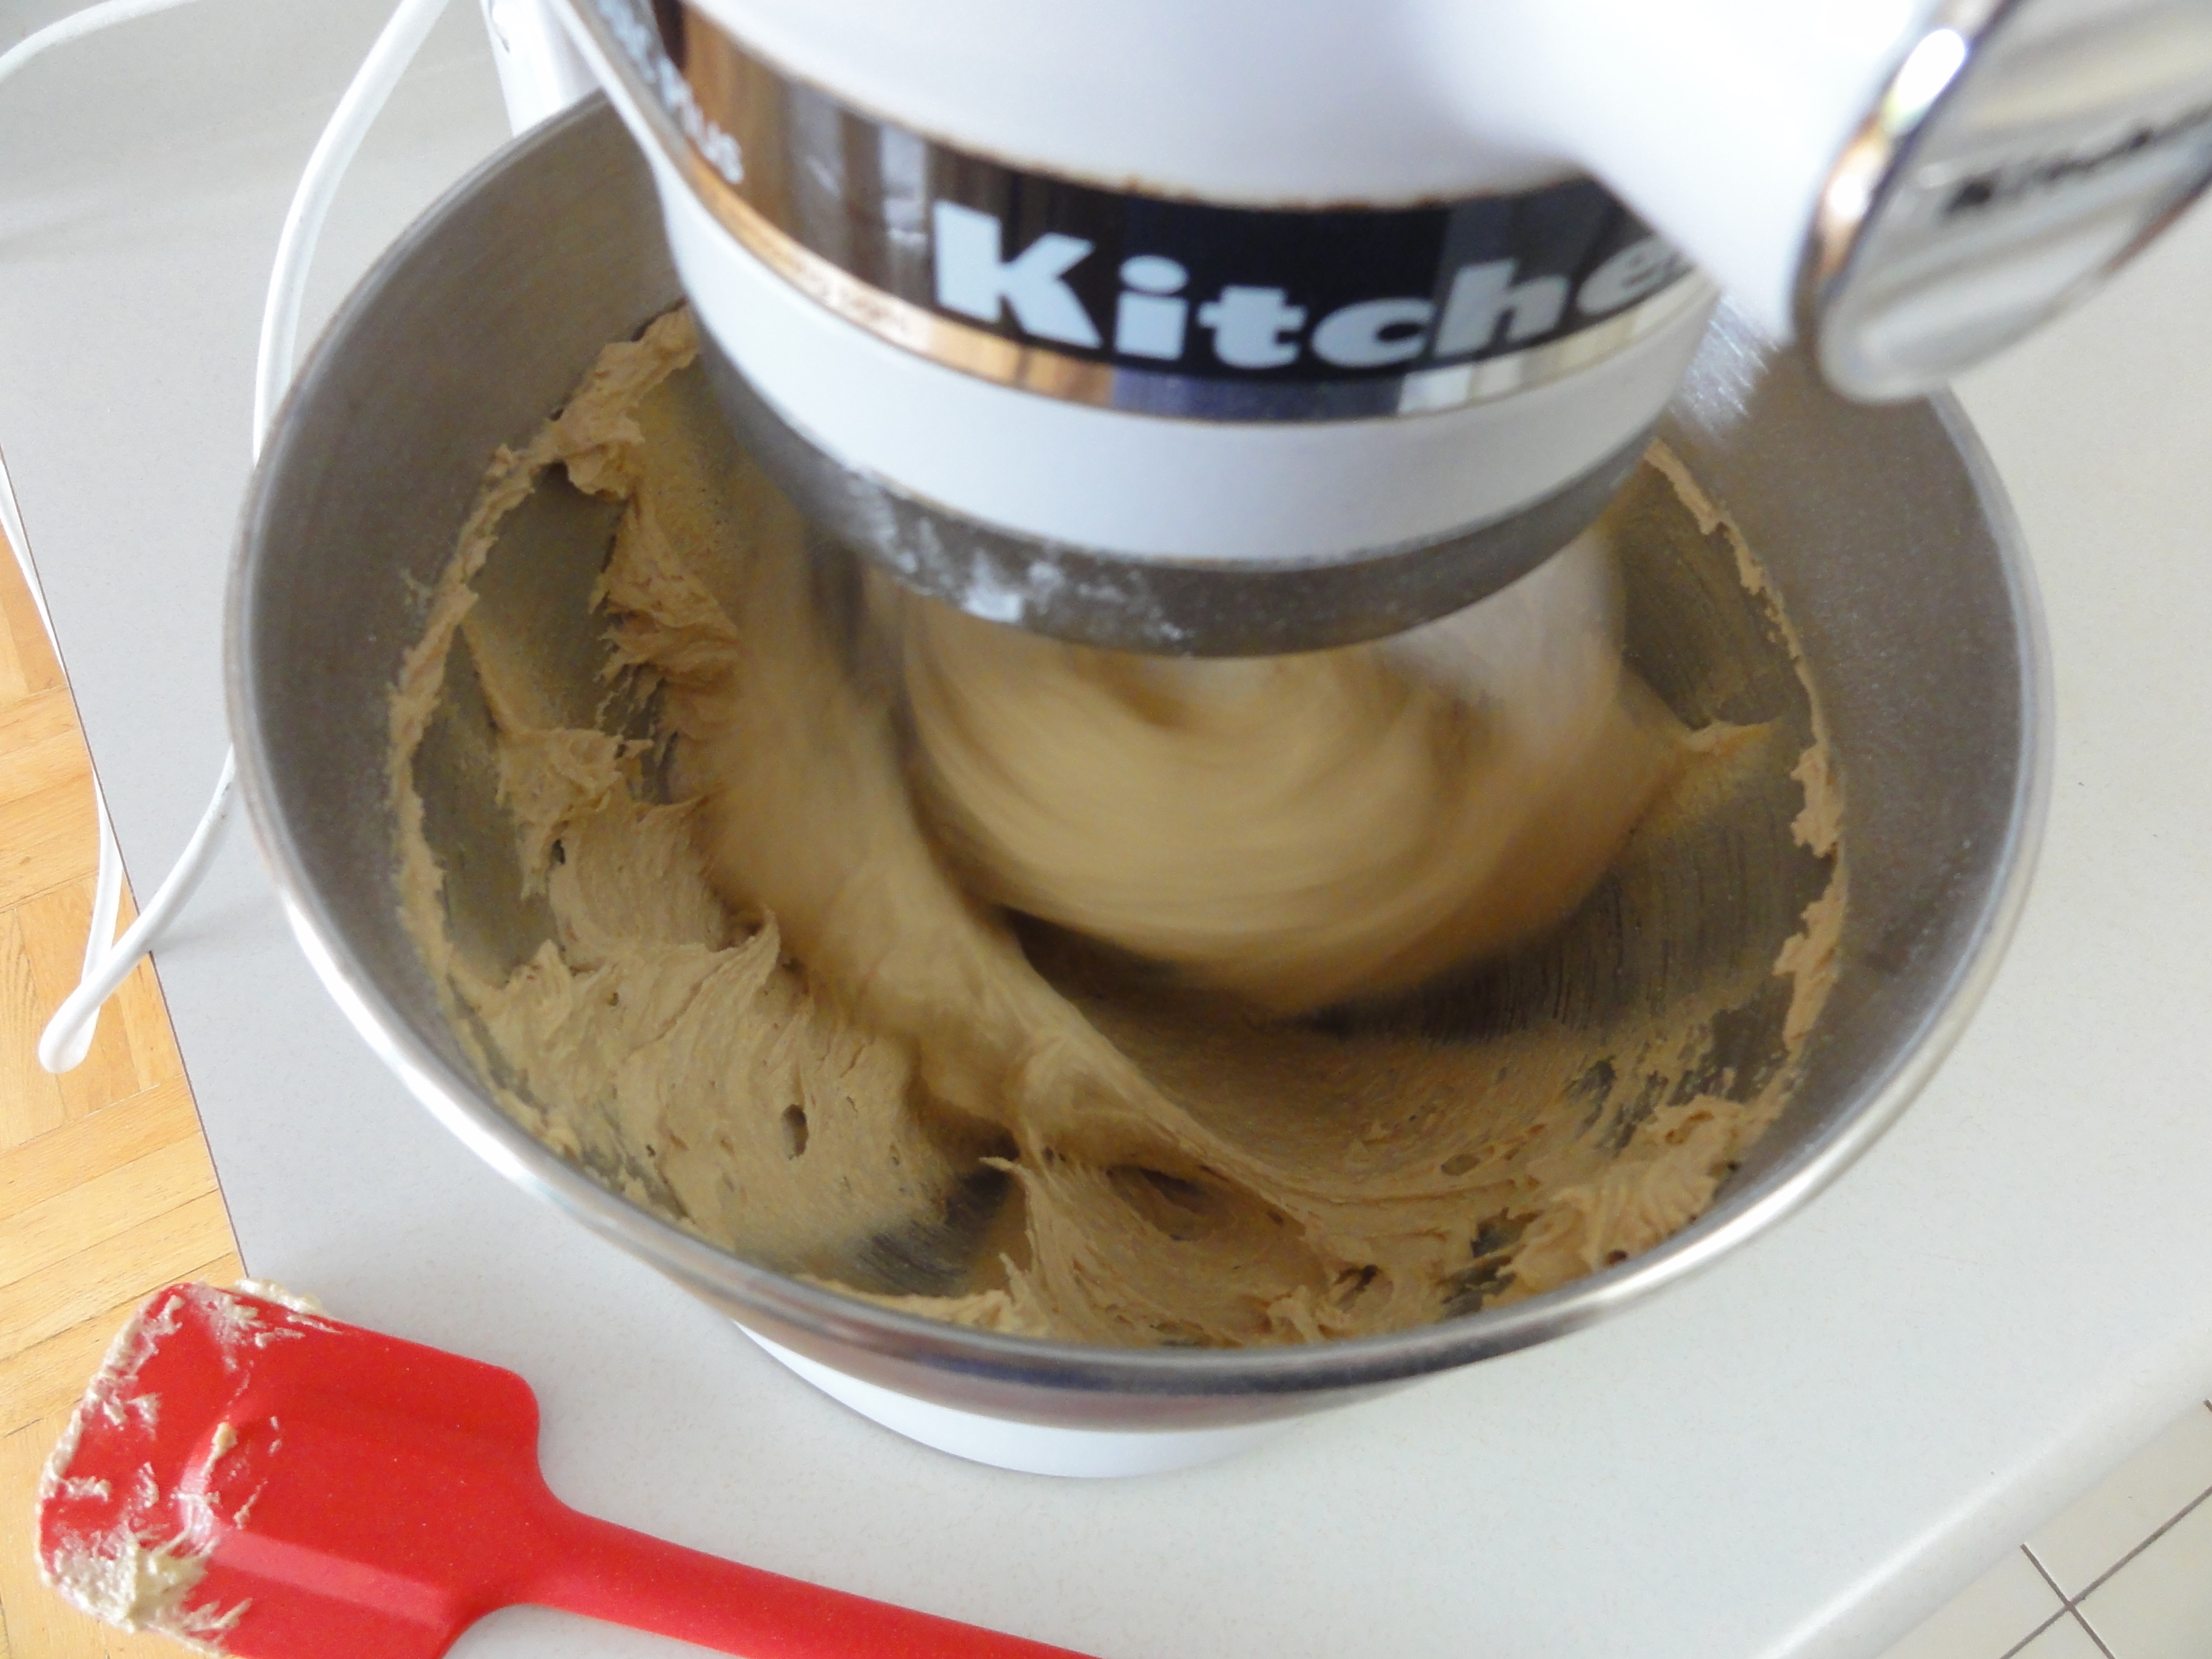
For every recipe that has this step I can’t help but post a picture of butter and sugar creamed together and this week it’s a close-up of what “light and fluffy” looks like.
The cinnamon will give your pre-mixed dry ingredients a faint tan color over the general vague white of flour. This helps to show when everything’s been mixed together evenly because you’ll have a consistent color throughout.


I used the stand-mixer on its lowest speed for folding in the flour, mostly out of laziness. If you want to follow along just remember to add the dry ingredients in small quantities; no more than 1/4 of the original at a time. Also: this week I remembered to include an action shot!
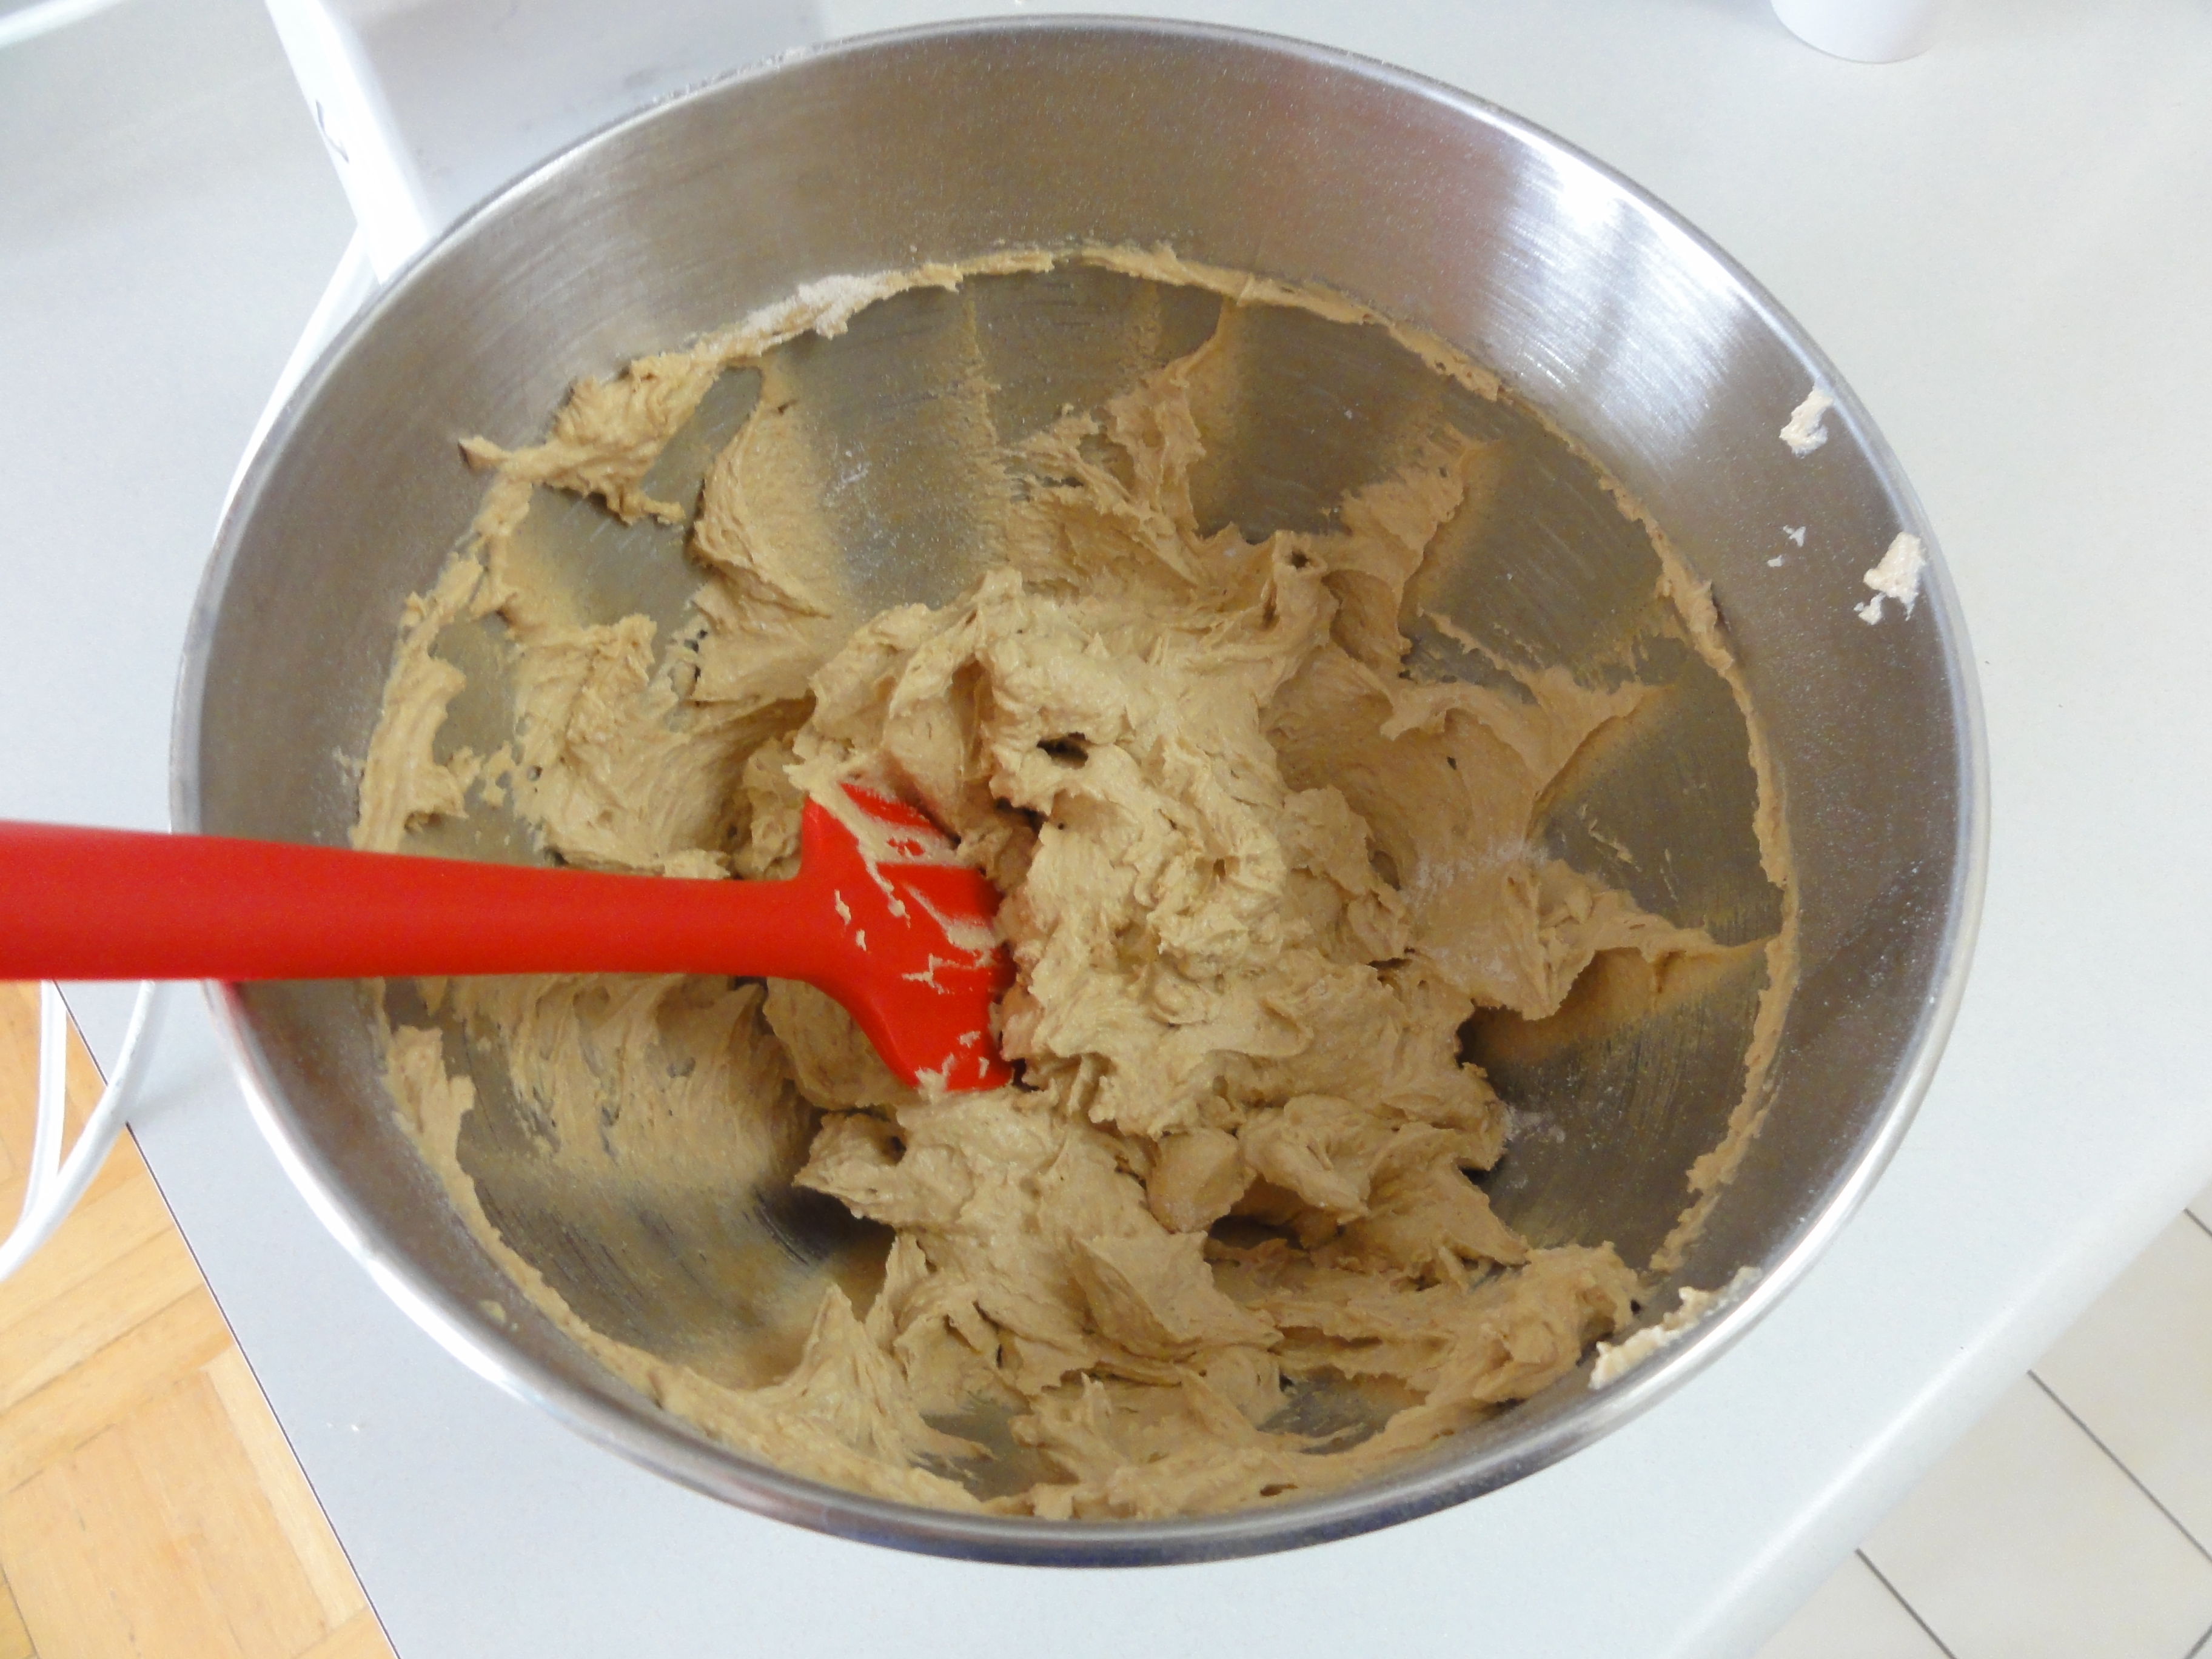
The dough will still be fairly wet even after the oats have been added in.

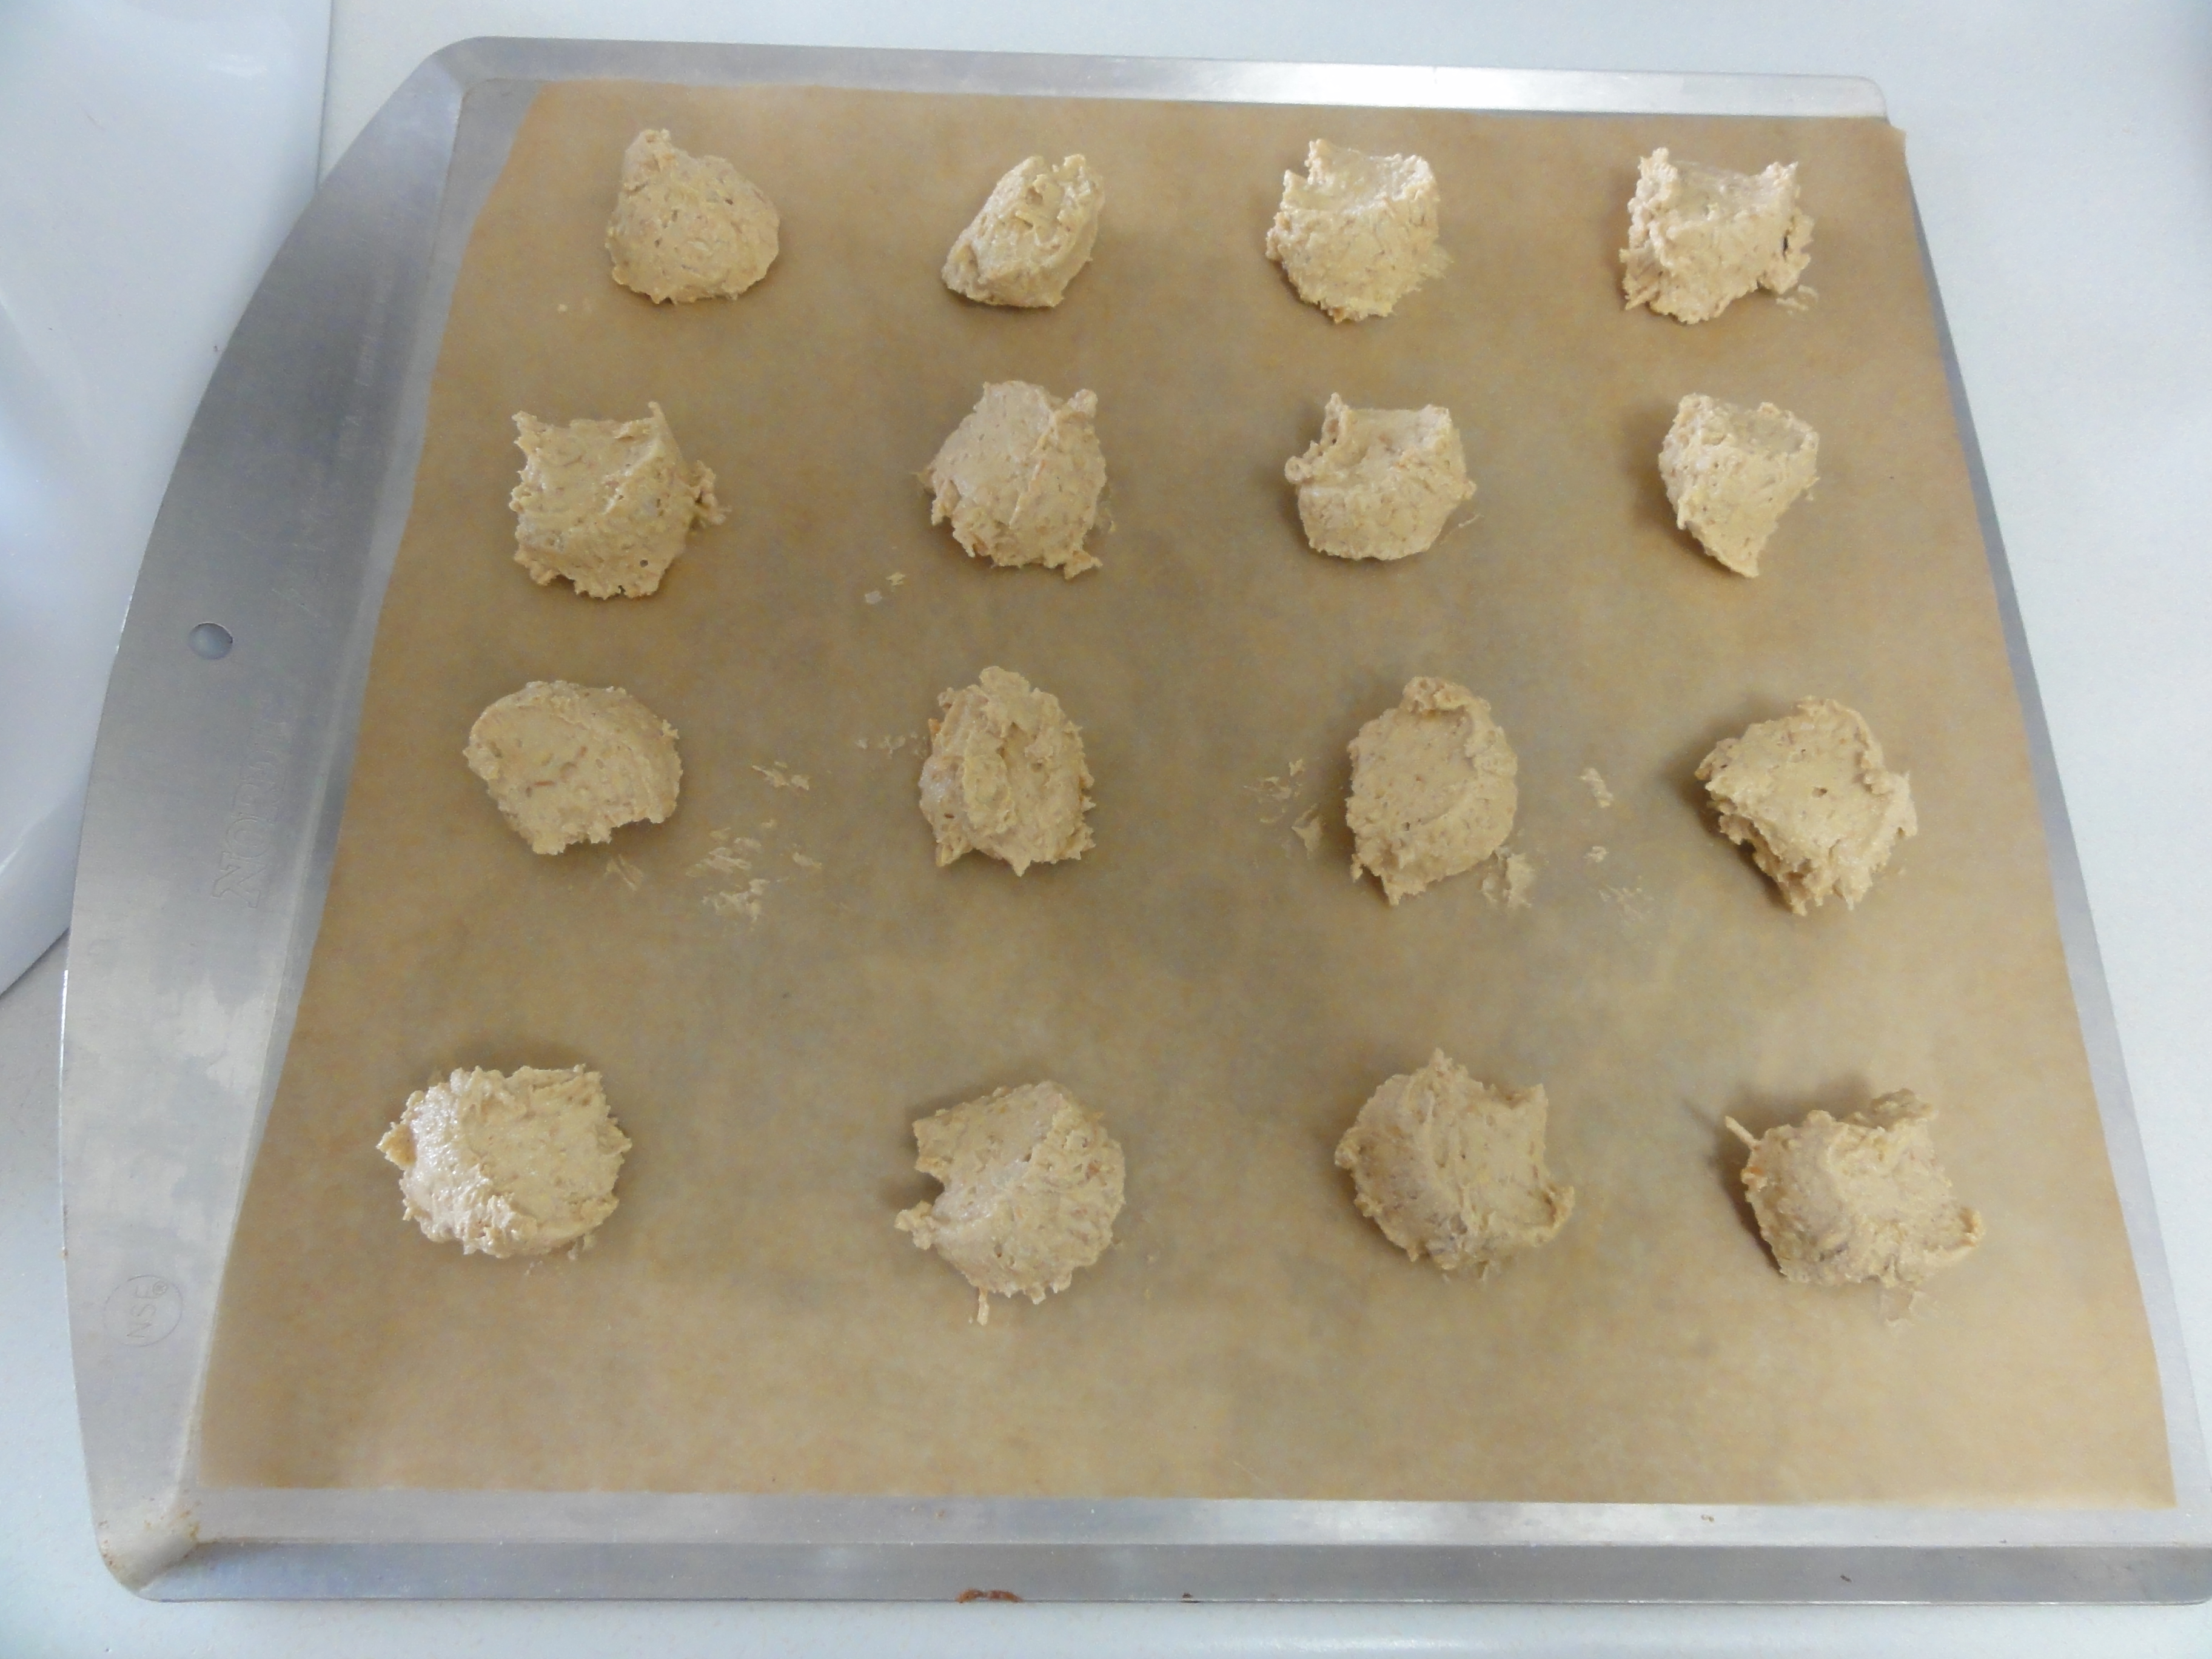
We know that the dough is going to spread so leave yourself plenty of room between each cookie.
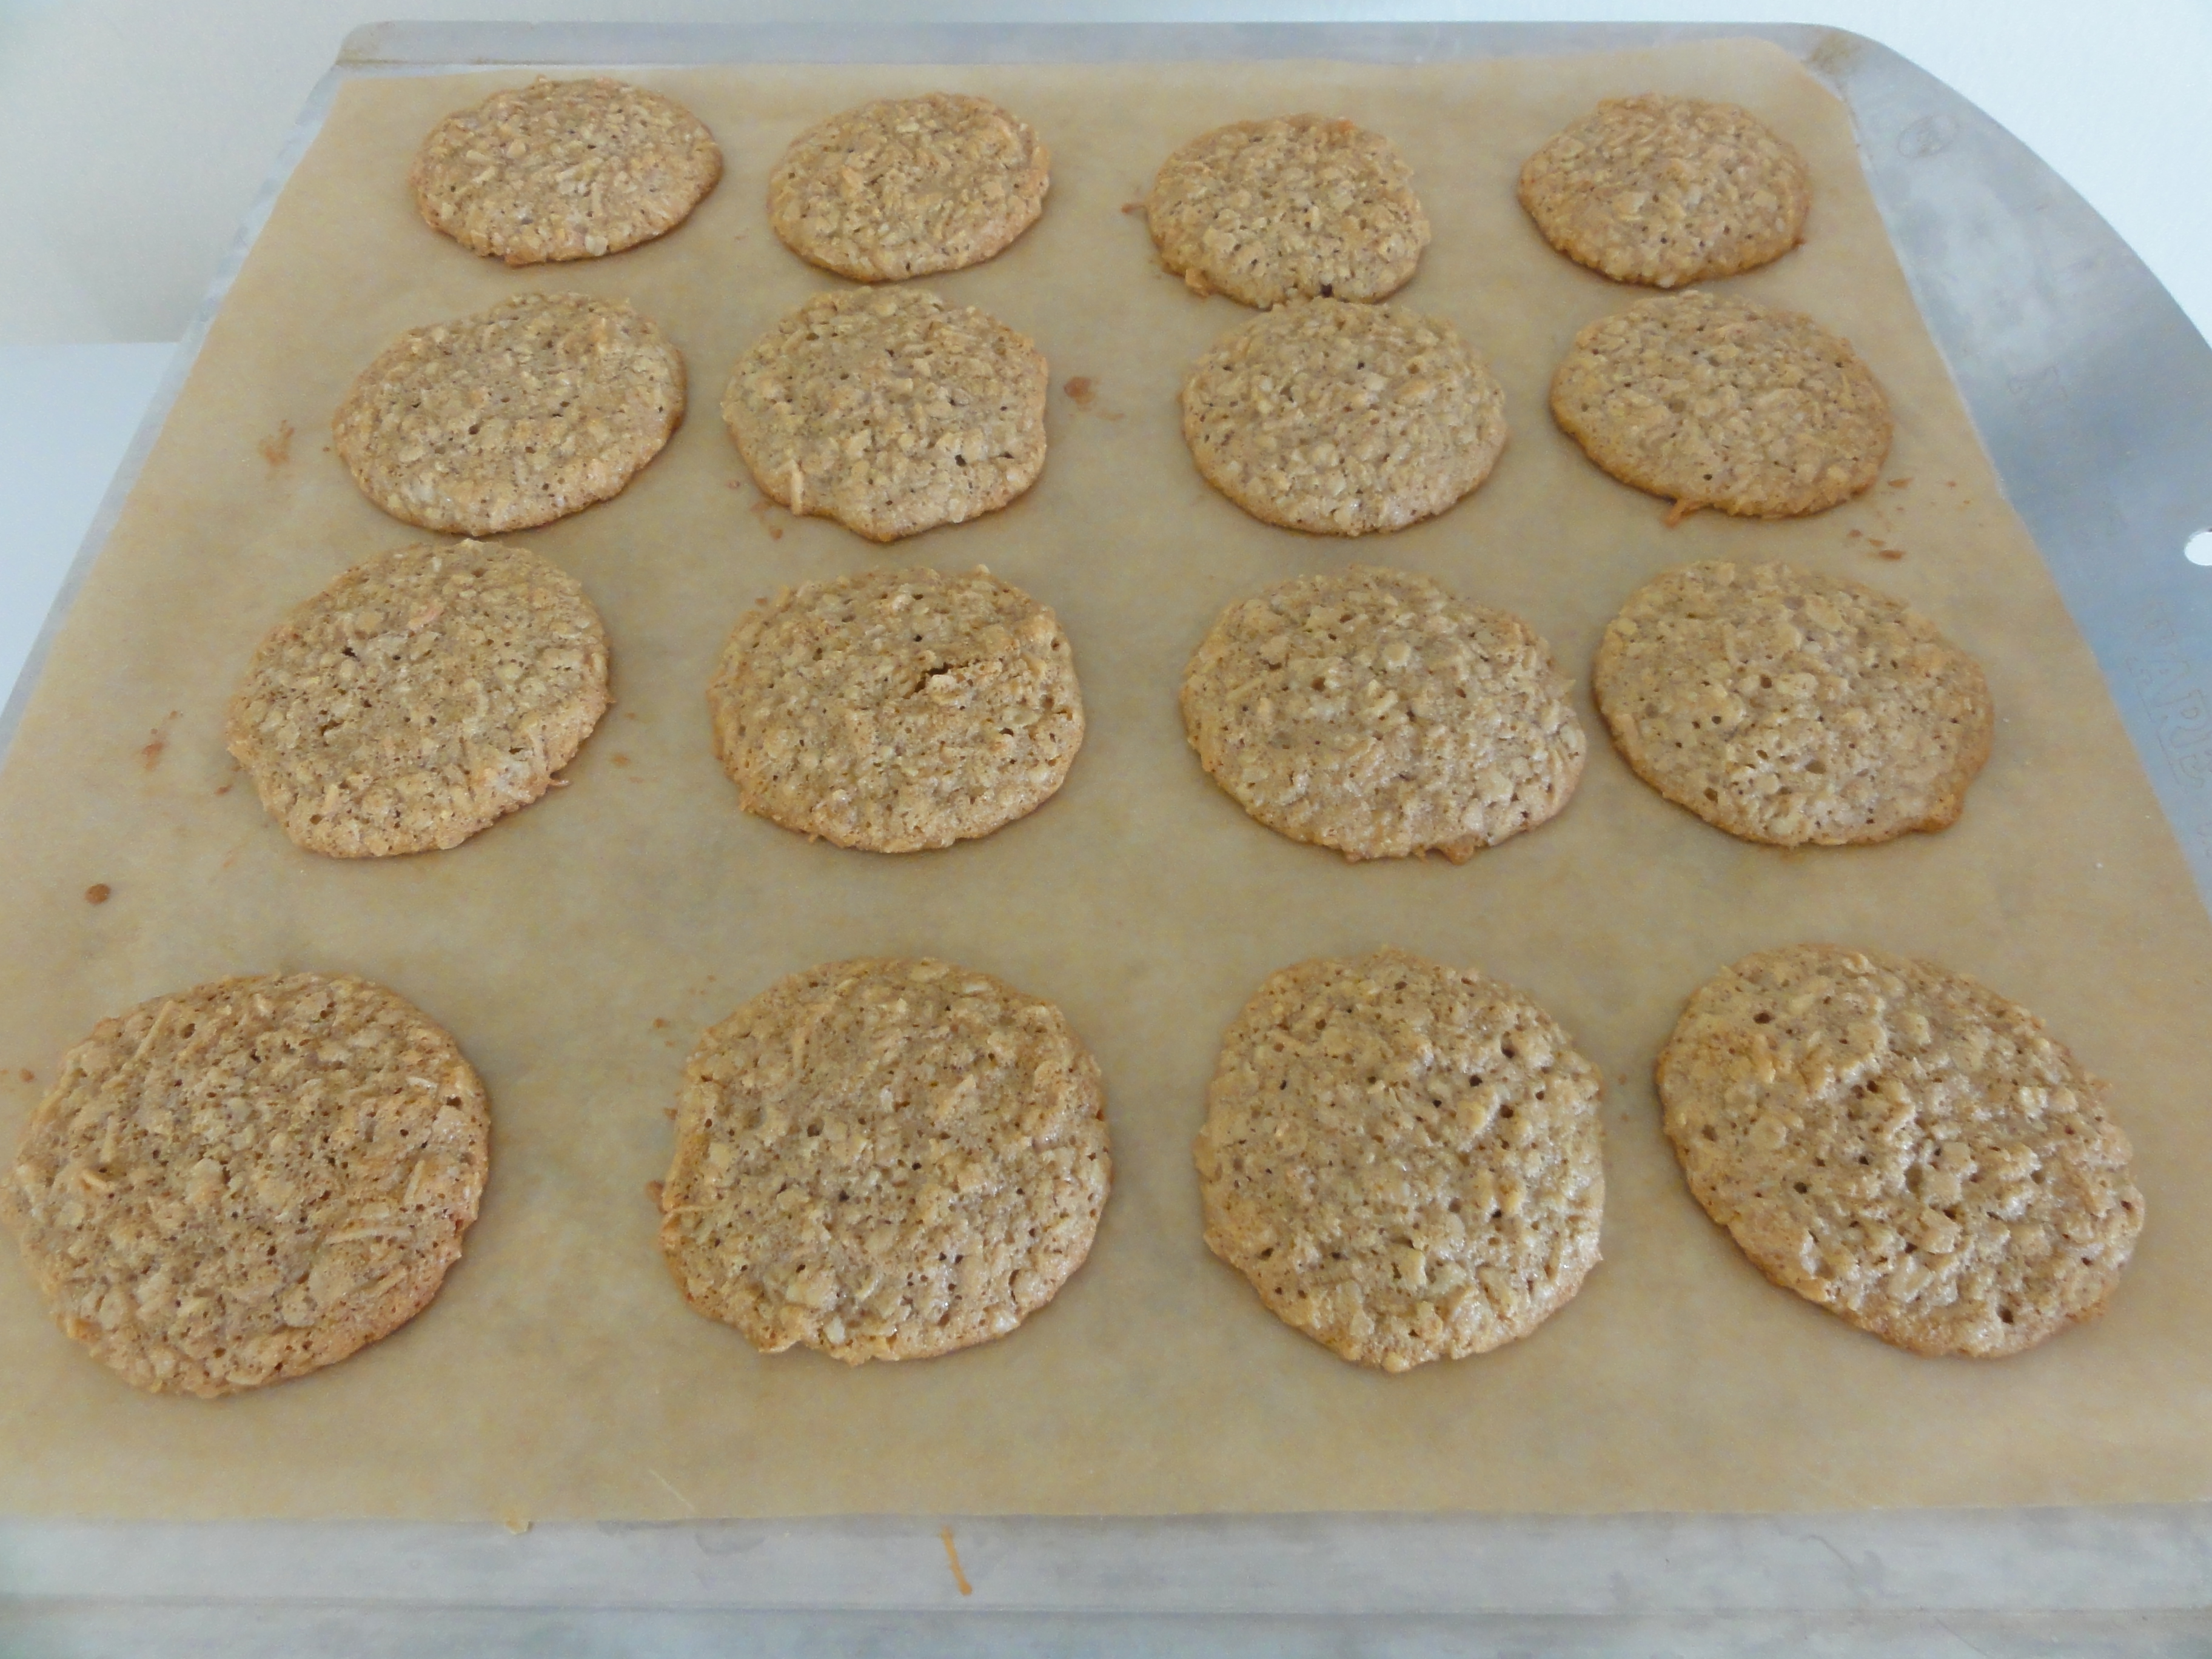
Straight out of the oven they’ll still be a little puffy but while cooling they’ll flatten out.
The end result: a plate of light and tasty oatmeal cookies!

