As I’m typing this there is snow on the ground outside, but when I baked these cookies last week the weather still vaguely resembled autumn and that was my inspiration for choosing them. The recipe is courtesy of Laurie Sadowski and her recipe book “The Allergy-Free Cook Bakes Cakes and Cookies“. I picked up her book at “Canada’s Gluten-Free Market”, an expo on all things gluten-free back in June that was a riot of gluten-free-ness and a good deal of fun.
Thanks to Laurie’s allergy-free efforts the recipe didn’t call for any modifications on my part. These cookies are not only gluten-free but dairy-free, nut-free, and contain no refined sugar. This chalks them up alongside the Vegan Maple Nanaimo Bars for allergy-friendliness (though my current iteration of the nanaimo bars includes nuts) and I’m also happy to report that they’re right up there in the “delicious” and “don’t last very long once offered to people” categories as well.

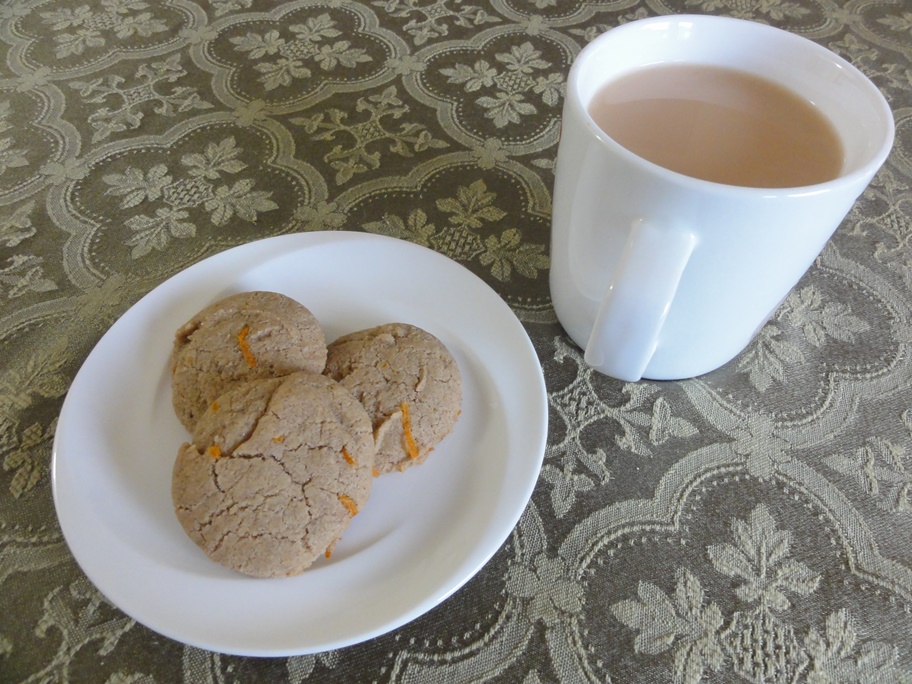
They’re also unusual for me in that they don’t contain chocolate but that doesn’t detract from them in the least. These cookies are light, have a good balance between soft and chewy, and the orange flavor comes through with the spices amazingly well. Having consumed a great many of them in quality control testing I can report that they go very well with tea or coffee.
This recipe also represents my first attempt at mixing individual types of flours to come up with a gluten-free blend. I was tempted to just go with my usual off-the-shelf gluten-free all-purpose flour blend because it roughly matched Laurie’s ingredients list, but I decided to stick to the plan and picked up the individual components. Having not tried to make them with an all-purpose blend I can’t say whether that would have worked but given just how well these cookies turned out I recommend giving the individual flours a try. The catch is that you may need to track down some form of specialty healthy foods store for the flours and the xanthan gum; in my supermarket’s healthiness section I happened find everything but the sorghum flour, which I was able to source from a specialty store around the corner.
One quick note on the vital details: for everything with an asterisk below check the “Thoughts” section.
Yield: 30
Preparation Time: 30-45 minutes*
Ingredients:
- 3/4 cup unrefined cane sugar
- 1/2 cup coconut oil (110g), softened*
- 1/4 cup maple syrup
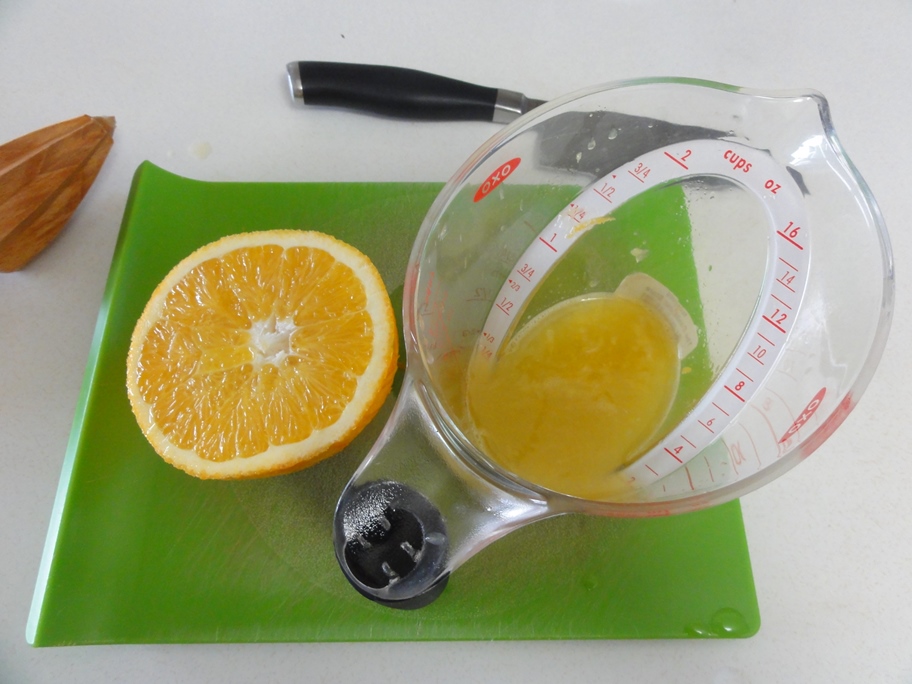
- 2 tbsp orange juice*
- 1 tsp vanilla extract
- 1 1/4 cups sorghum flour
- 1/4 cup quinoa flour
- 1/4 cup tapioca flour
- 3/4 tsp baking soda
- 3/4 tsp xanthan gum
- 1/2 tsp salt
- 1/2 tsp cardamom
- 1/2 tsp cinnamon
- 1/4 tsp ginger
- 1/4 tsp nutmeg
- 1 tbsp orange zest*
Directions:
- Preheat oven to 350°F, line baking sheets with parchment paper.
- Cream the sugar, coconut oil, maple syrup, orange juice, and vanilla together until well-combined; about 2 minutes on medium speed.
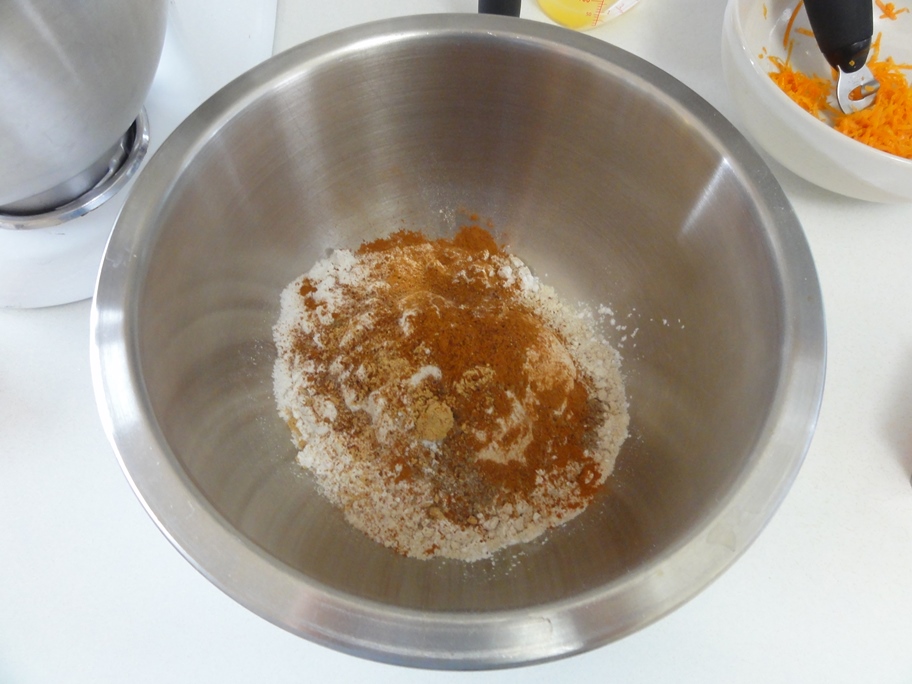
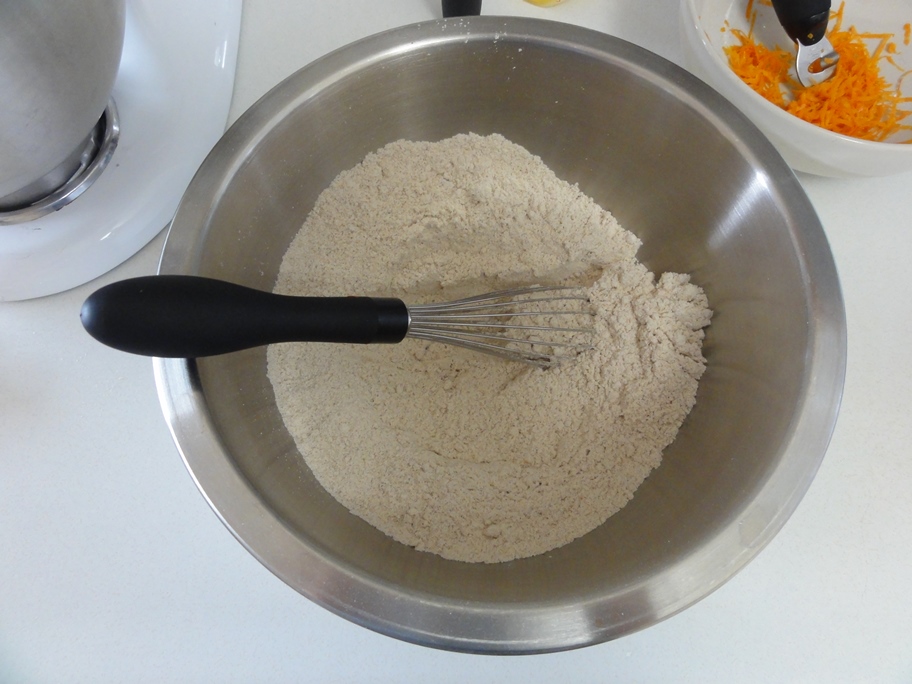
- Whisk together the flours, baking soda, xanthan gum, salt, and spices in a medium bowl. Add the orange zest and mix in well.
- Add the dry ingredients to the wet in small quantities, beating on low speed until well combined.
- Drop tablespoon-sized amounts of dough onto the lined baking sheets.
- Bake for 10-12 minutes until the edges are golden brown.
- Let cool for 5 minutes on the trays and then transfer to wire racks to cool completely.
Thoughts:
- A big chunk of the prep time for these cookies is zesting and juicing an orange (though that may just be me and my lack of experience with zesting). That can be reduced by buying dried orange zest and orange juice instead. I didn’t have enough of the former in my baking cabinet to try a batch of the cookies with dried over fresh but I think a one-to-one substitution would work fine. You won’t get any of the fancy-looking strips of orange peel on the surface of your cookies though.
- Coconut oil is shelf-stable at room temperature, you don’t need to store it in the fridge, and thus it’s conveniently already “softened” and requires no particular pre-warming. The consistency should still require some scooping but the oil should be pliable; if you’re able to pour it out of the jar it’s melted and that’s going to mess with the consistency of your final product, and if it’s so hard you have to carve it out of the jar with a knife then it needs softening. The problem with coconut oil is that it gets everywhere; once you get some on your fingers it will end up on every kitchen implement you own (even the ones in drawers). This is particularly so when trying to squish it into a 1/2 cup measuring cup so with my first batch I measured what 1/2 cup comes to and it’s 110g. On my second batch I put my mixing bowl on my kitchen scale and portioned out 110g straight into the bowl; much less of a mess that way.
- Check my Step-by-Step photos below for what kind of orange gets you 2 tbsp of orange juice. I happened upon some frighteningly large oranges at the supermarket and so half of one got me 1/4 cup (4 tbsp) of juice. The whole orange yielded 2 tbsp of zest.
- Having not tried to make these with an all-purpose blend I can’t say if your mileage would vary, but out of curiosity I weighed the flours and came up with 9.4 oz total. By the general rule of thumb 4.5 oz of gluten-free flour substitutes for 5 oz, or 1 cup, of all-purpose wheat flour, so unfortunately this recipe doesn’t translate cleanly. That being said, if you’re not able to track down the flours listed above I’d suggest going with 2 cups of all-purpose wheat flour. In that case you won’t need the xanthan gum, which is one of those gluten-free substitutes that tries to make up for the binding that naturally comes from gluten in wheat flour. If you do try these with wheat flour, let me know how it works out!
Step-by-Step:
That’s 2 tbsp of zest on the left from one orange on the right. Keep in mind that it’s a fairly large orange, approximately 3 1/2 inches in diameter, but hopefully it gives you some idea of what to go shopping for. If you can find an orange about this size or a little smaller, you’ll have more than enough for the 1 tbsp of zest you need for a single batch.

You should also have plenty of juice from that one orange, considering that one half of my orange yielded twice what’s needed for a batch of cookies.
There’s nothing special to creaming coconut oil and sugar compared to butter and sugar; the consistency is very similar. There’s also no need to blend the coconut oil and dry sugar together first; your maple syrup, orange juice, and vanilla can go in at the same time. The coconut oil may seem a little chunky or appear to have denser clumps scattered throughout it; that’s completely okay, just blend until you get a consistent color and texture.

Something curious happened after the stand mixer had beaten everything together in that maple syrup “seeped” up out of the bottom of the bowl. For whatever reason the syrup didn’t quite beat into the mixture so I went at it by hand with a spatula for a minute or so and that seemed to help distribute it throughout.

There’s a fair number of individual dry ingredients involved in this recipe. Conveniently there’s also a broad range of colors so you can get a good idea of when everything’s well-whisked together because you end up with a consistent color that’s different from anything that you started with.
When blending in the dry ingredients you’ll want to add a small quantity at a time and a 1/4 cup is a good measure to go with. Note that I forgot to add the orange zest before taking the photo above or the one below and so I gently folded it in after the dry ingredients had been well-combined with the wet. These photos were from the first batch; on the second batch I remembered in time and added the zest to the dry ingredients before combining. There was no noticeable difference in oranginess between the two batches so don’t worry if you also miss it at first.

Sorry about the blurry photo here; of the two that I took of the prepared dough it’s the clearer one. Basically what we’re looking for is a moist dough that’s reasonably easy to work with. You should be able to form scoops in a tablespoon without any carving or strenuous application of elbow grease.

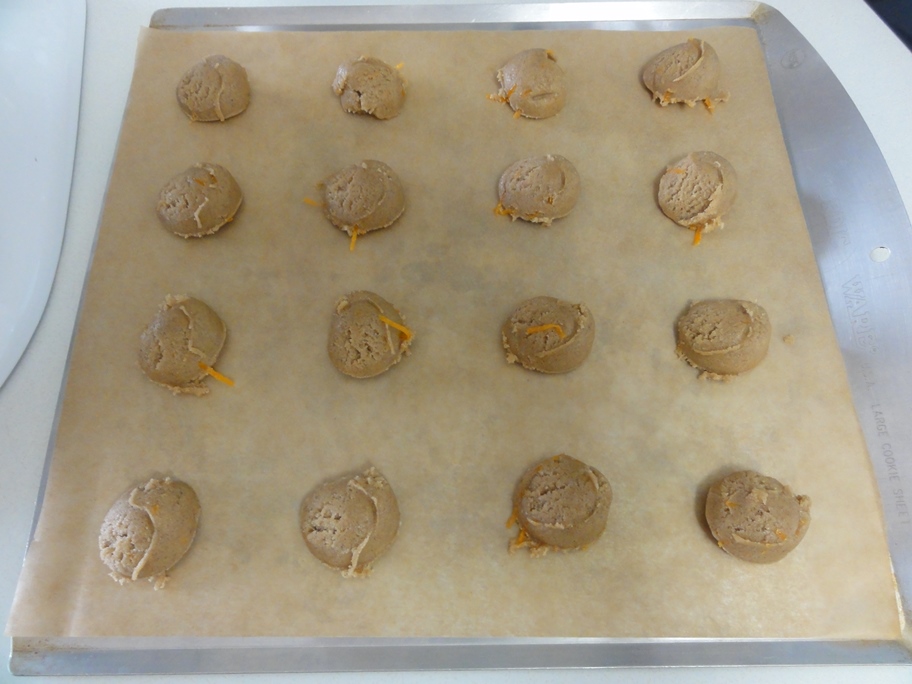
Level-tablespoon sized domes of orange spice goodness worked out great and they do spread out a bit so leave them some room to themselves.
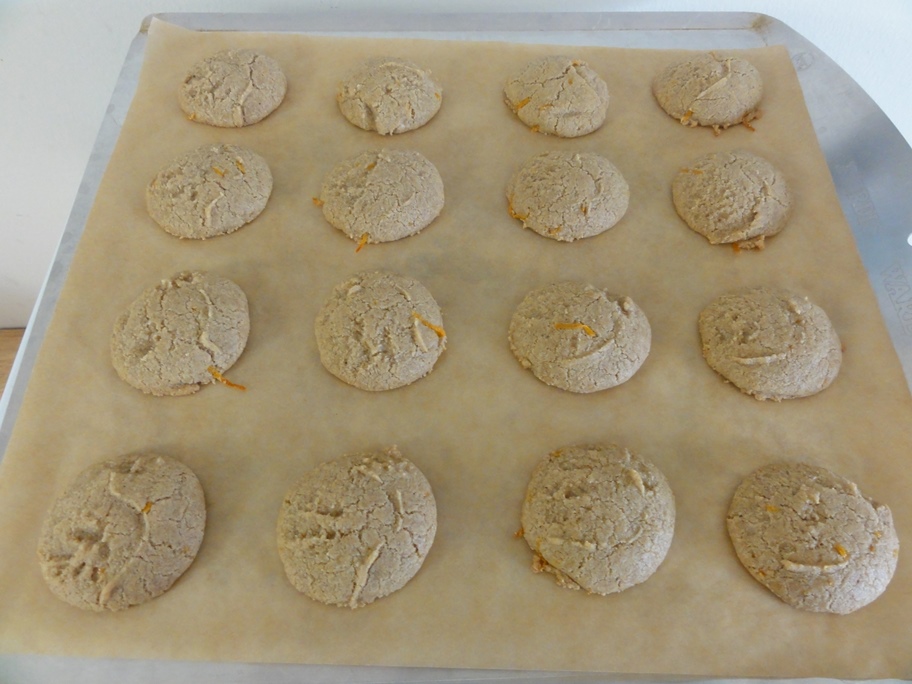
Given that the cookie dough is already a fairly dark shade the “golden brown edges” trick is subtle here. Puffy, dried tops is another good guideline to know that they’re done.
This week I’m straying from the usual three-cookies-on-a-plate shot and adding a cup of tea. For reference that’s a pumpkin spice decaf black tea with 1 tsp of cream, served hot.