A friend of mine passed along this recipe for Samoa Oreo Cookies from Chef in Training, which as-is look amazing and the trick of using a boxed cake mix simplifies making the cookies. After thinking about how I’d want to go about making these, the cookies reminded me of the Chocolate Brownie Cookies I made for the inaugural recipe on this website. My first attempt at these involved the Chocolate Brownie Cookies but without the pecans, and with a buttercream frosting made with a 1/2 cup of butterscotch ice cream topping and about a cup of toasted coconut flakes smooshed into the frosting in each cookie. This was the result, and they were fairly amazing:
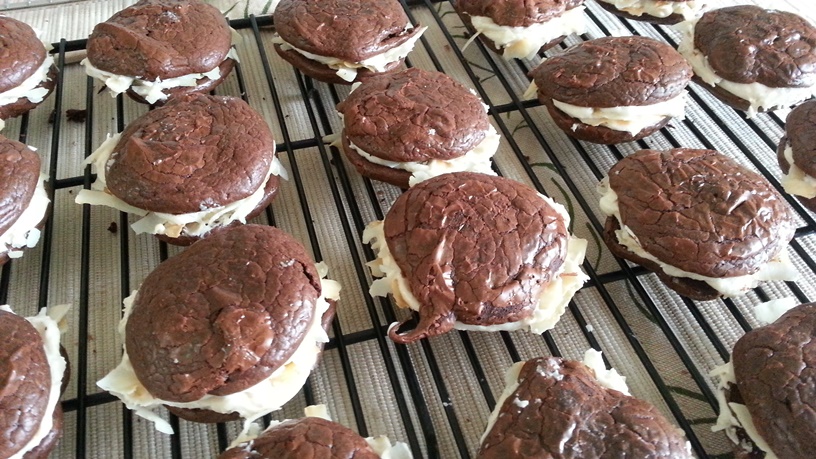
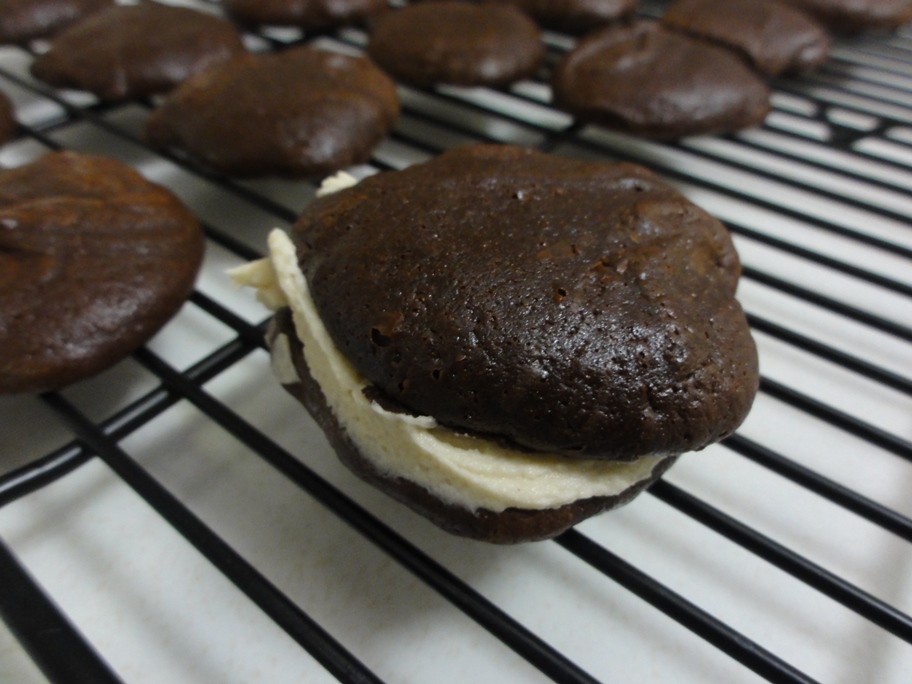
In the process of eating these while sharing them with some friends, I decided that I definitely needed to bake these again but I wanted to try a maple frosting instead. The result was just slightly more amazing than the first attempt:

The original Chocolate Brownie Cookies are fairly rich and heavy in their own right, because they’re mostly made of chocolate; the cookies live up well to the “brownie” part of their name. Here we’re taking two of them and sandwiching them around a scoop of frosting that is almost entirely made of sugar. This means you’ll only get around 20 cookies from a batch but each one is a single serving of dessert in its own right, in a very convenient form! These cookies are like cupcakes, almost the same ratio of frosting to baked good, but without the difficulty in transporting them because you can easily stack these on top of each other (just put a sheet of wax paper in between). So they’re a great if you want an alternative to cookies, brownies, or cupcakes, that is kind of like all three rolled into one!
Yield: 20 sandwich cookies
Preparation Time: 30 minutes for the cookies, 15 minutes for the frosting
Ingredients:
Cookies
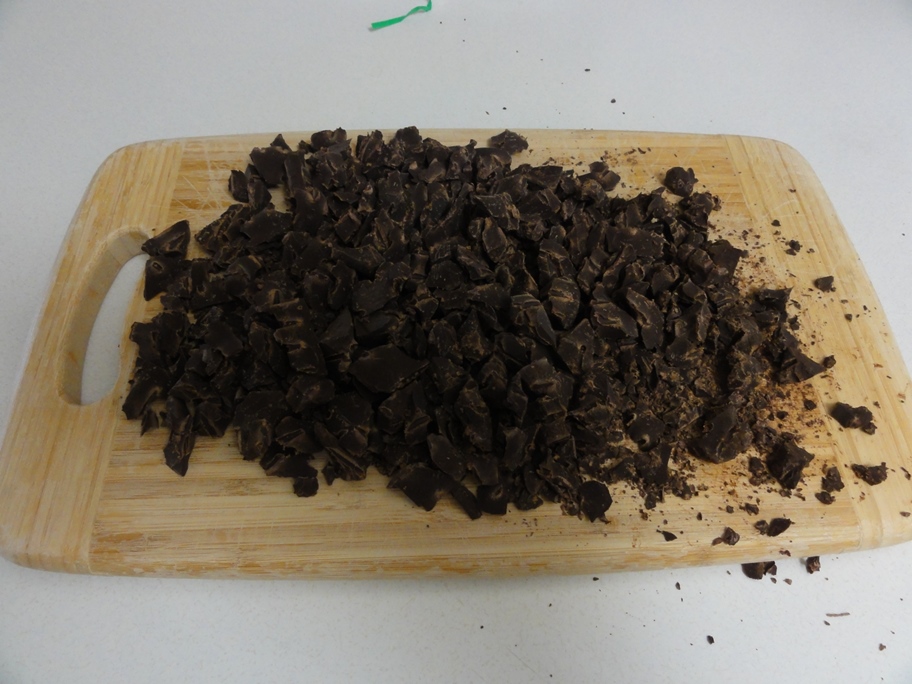
- 12 oz. bittersweet chocolate, chopped
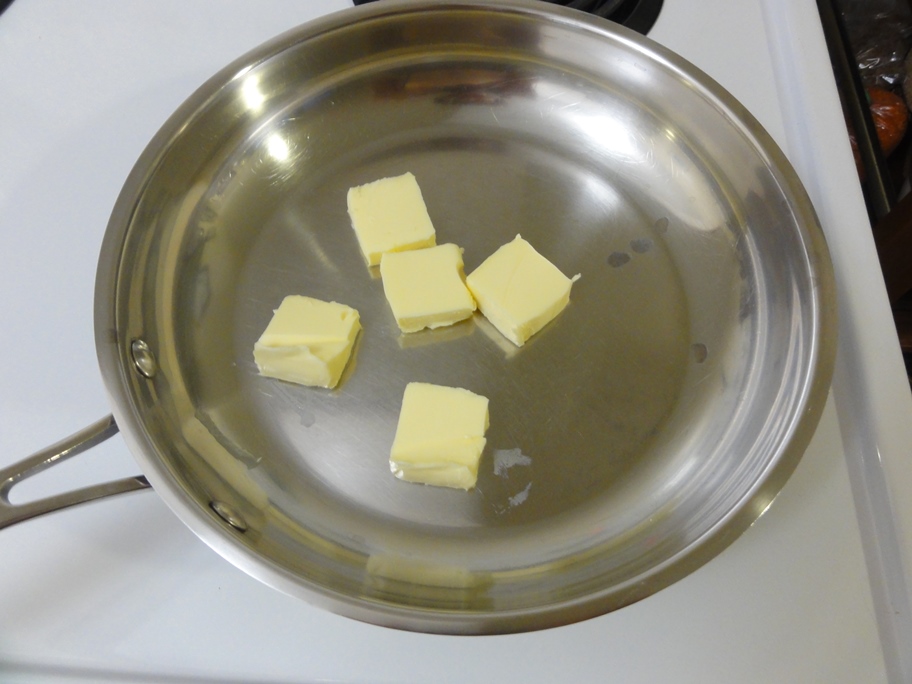
- 1/4 cup unsalted butter
- 3 large eggs, at room temperature
- 3/4 cup (160g) granulated sugar
- 2 tsp vanilla
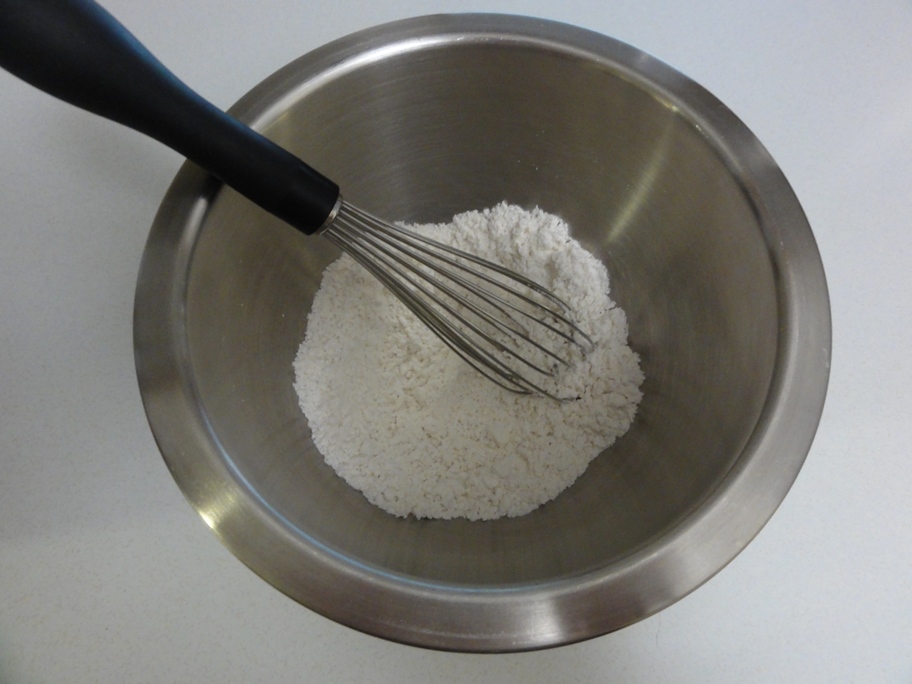
- 1/3 cup flour
- 1/4 tsp baking powder
- 1/4 tsp salt
Frosting
- 1/2 cup butter, softened
- 2 1/2 cups confectioner’s sugar (also known as icing sugar)
- 1/4 cup maple syrup
Directions:
Cookies
- Preheat the oven to 350°F and line baking sheets with parchment paper.
- In a small bowl, whisk together the flour, baking powder, and salt, and set aside.
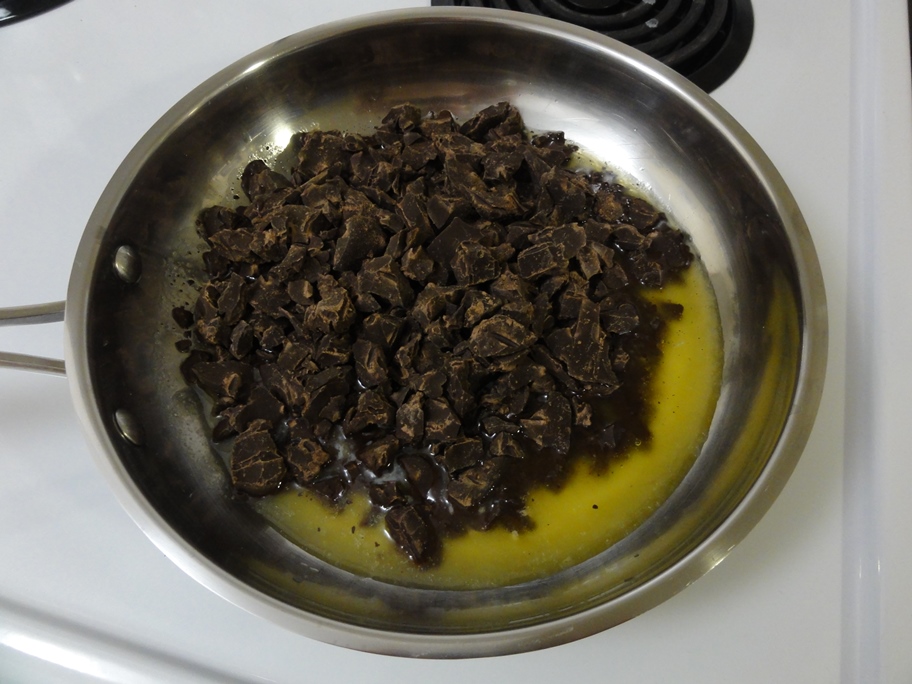
- Melt the butter in a large saucepan over low heat, then add in the chopped chocolate, and stir until the chocolate is smooth.
- Beat the eggs and sugar together to a ribbon consistency; about 4 minutes on medium-high speed, preferably with a whisk.
- Add the cooled chocolate and vanilla, and mix until well-combined.
- Fold the dry ingredients to the wet and mix until well-combined.
- Let the dough rest for 5 minutes.
- Spoon even tablespoonful’s of batter onto the baking sheets.
- Bake for 8-10 minutes until the tops are puffed and cracked and barely spring back when pressed.
- Let the cookies cool for 5-10 minutes on the trays and then transfer to wire racks to cool completely.
Filling
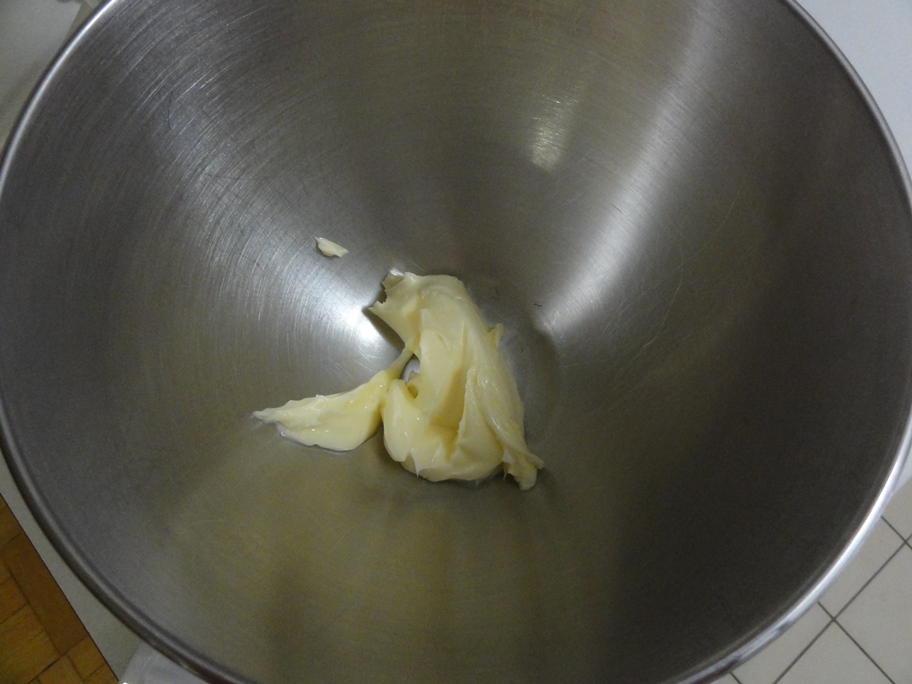
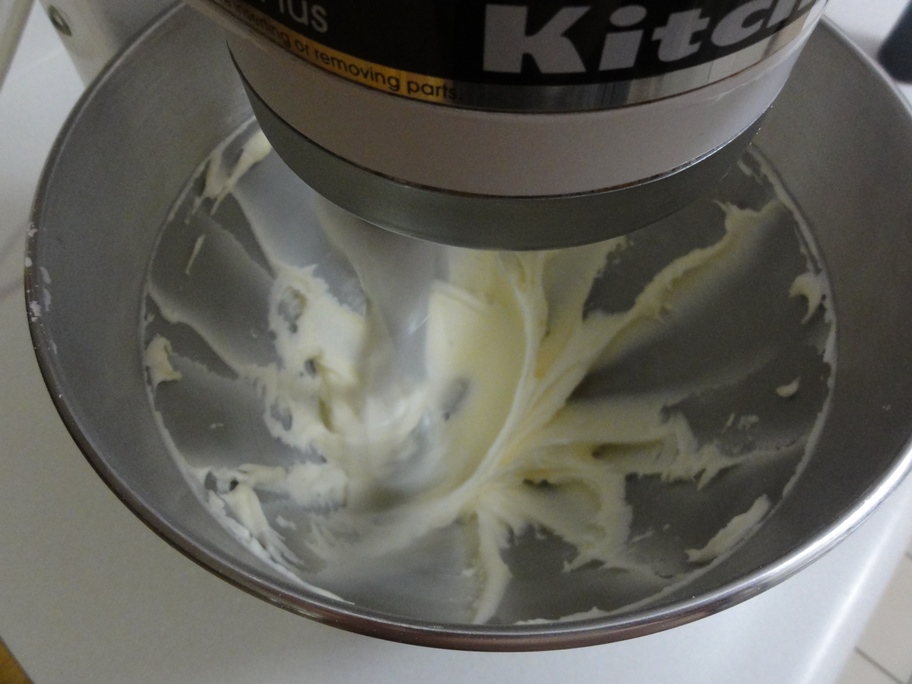
- Cream the butter at medium speed for about 2-3 minutes.
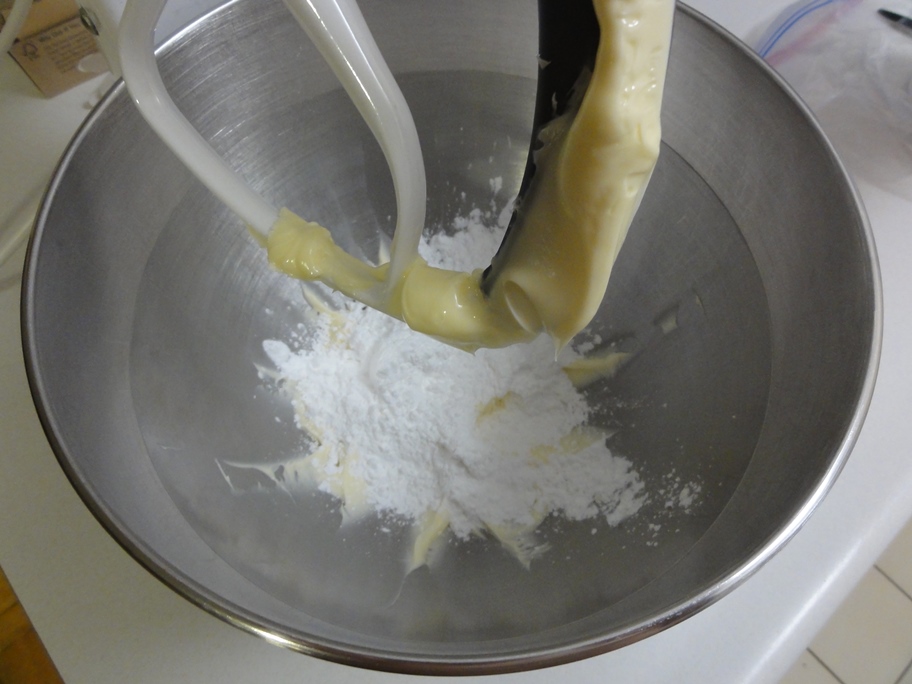
- Add 1 cup of confectioner’s sugar and beat until smooth.
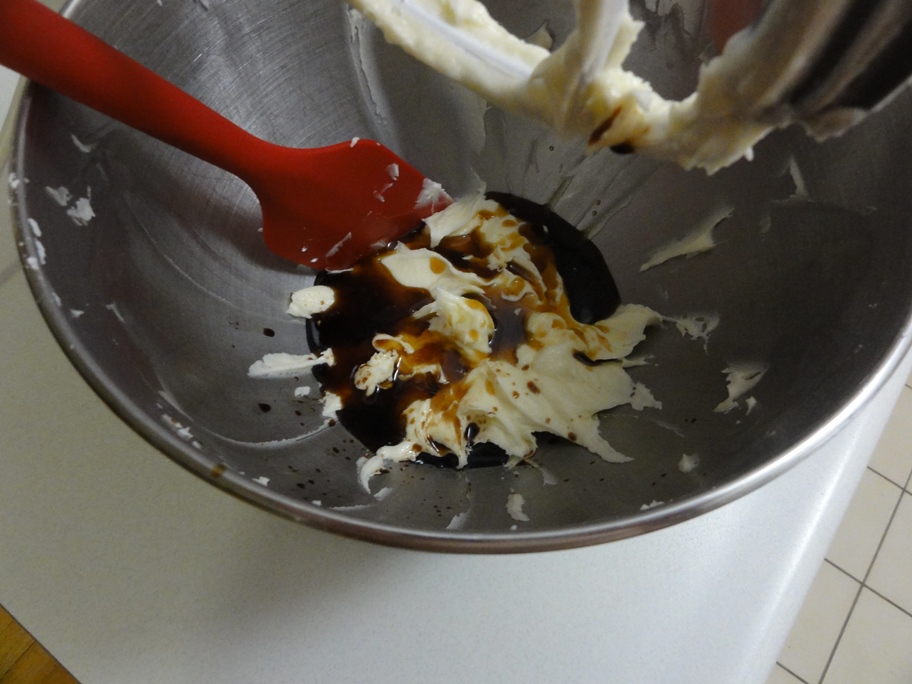
- Add the maple syrup and beat until smooth.
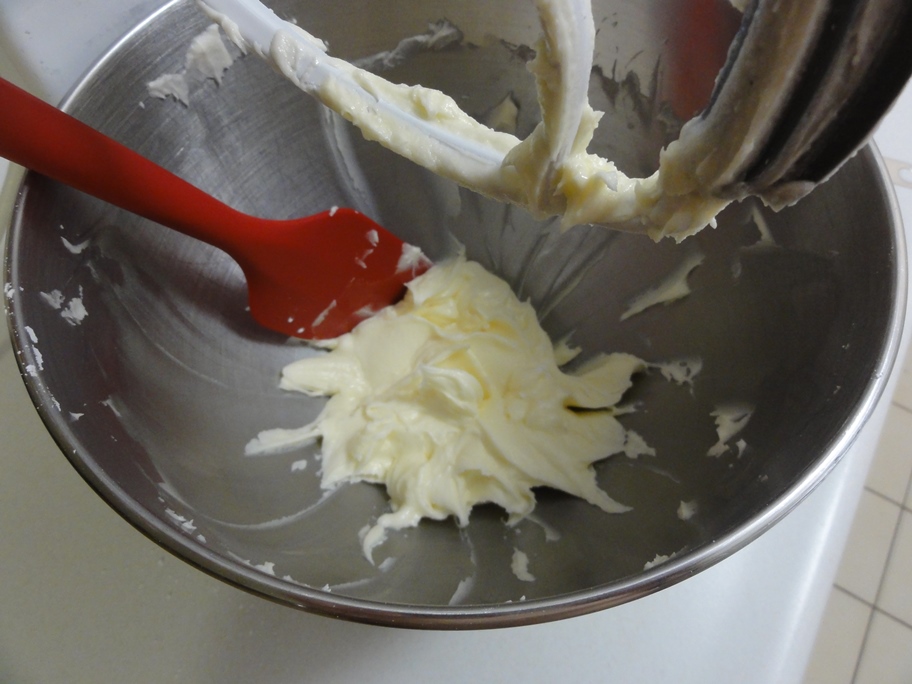
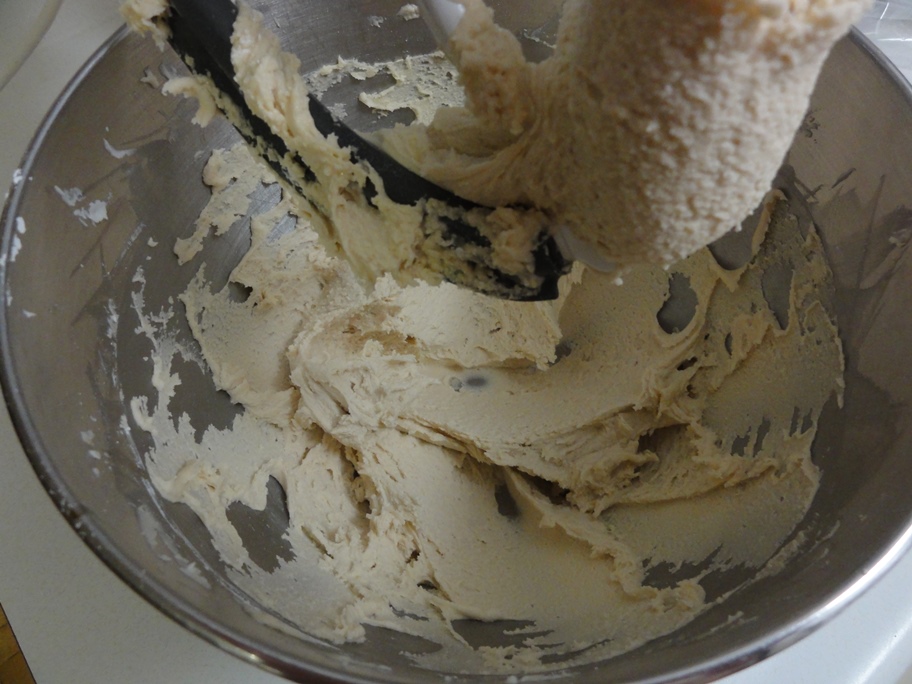
- Add the remaining sugar and beat until smooth.
Sandwiching
- Take one cookie.
- Spread about 2 tbsp of frosting on the back.
- Press another cookie on top and twist it down to evenly squish the frosting.
Thoughts:
- The darker the grade of maple syrup, the stronger the flavor, and too much liquid in the frosting will detract from its fluffy consistency, so you want to use as little as possible meaning use the darkest grade you can find. “Dark”, or Grade #3, is the strongest I was able to find up here and a little goes a very long way; this is all I use in baking because of how rich the flavor is. “Medium”, “Amber”, Grade #2 or B, tends to be fairly common on store shelves and should work but you’ll want to experiment with how much frosting per cookie imparts enough maple flavor. “Light”, Grade #1 or A, will probably be too weak to overcome all of the pure icing sugar involved in the frosting. To make up for a lighter flavor you can add “maple extract”, which is similar in concept to vanilla extract, but I had a hard time finding it. If you’re luckier with maple extract but unlucky with darker grades of maple syrup, 1 tsp of extract should make up for the lighter flavor of Light syrup.
- Caramel or butterscotch would also work great in the frosting, as with my first attempt at the recipe. If you’re using pure caramel then a 1/4 cup should be plenty, but the ice cream topping I was readily able to find seemed a little weaker, thus I used a 1/2 cup. If your frosting seems too wet you can always add more icing sugar; just add one or two tablespoons at a time until it is fluffy again.
Step-by-Step:
Cookies
The cookies are mostly chocolate – for the record, this is a wonderful thing.
There is very little flour in these cookies…
Melting the butter first before adding the chocolate, and keeping the temperature low, helps to keep the chocolate from burning. With this much chocolate on the line it’s worth it to be patient!

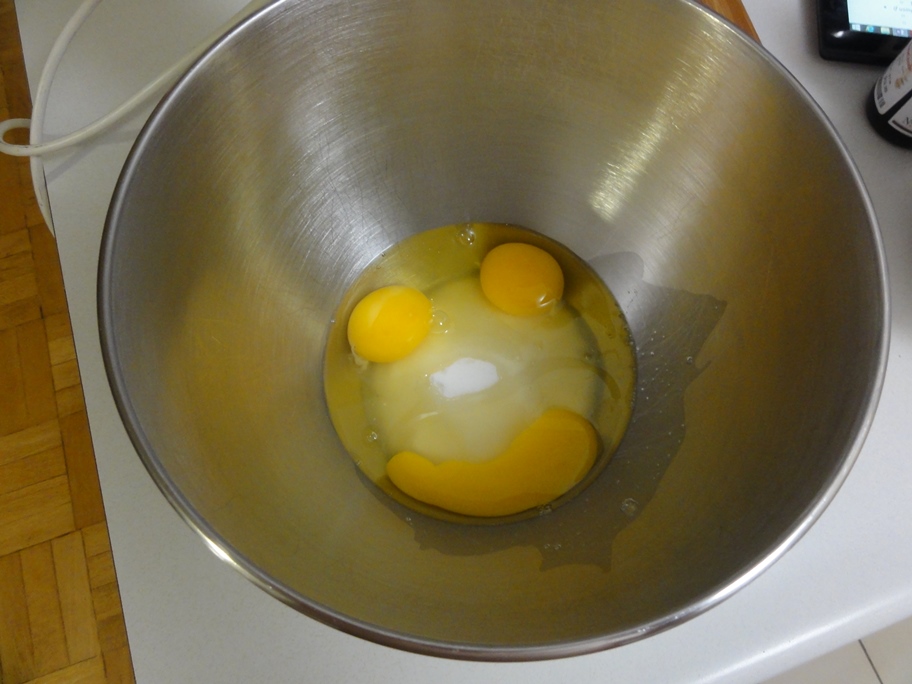
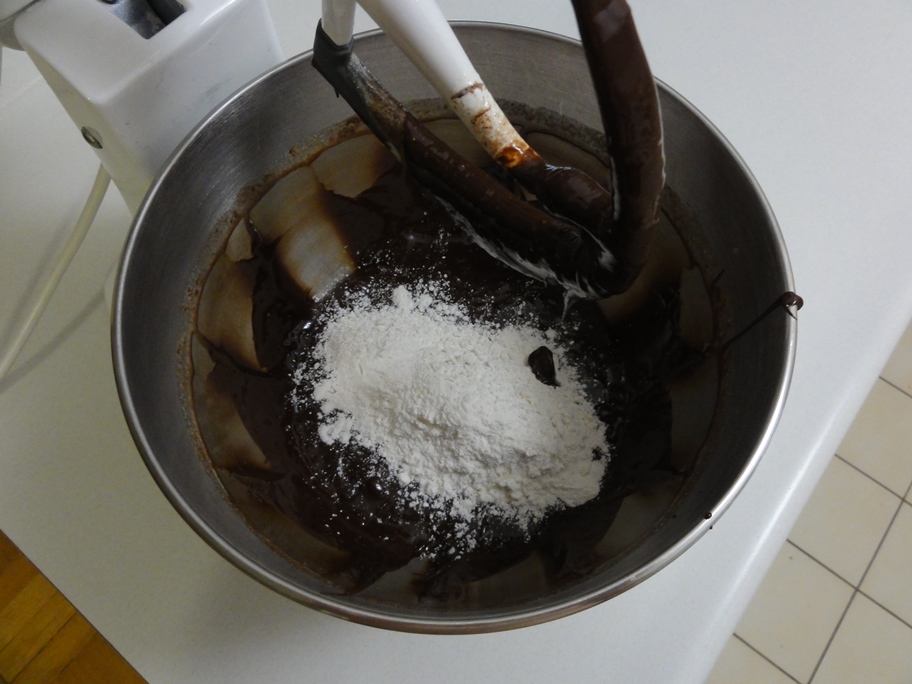
I swear this was not at all intentional when I was cracking the eggs into the bowl.
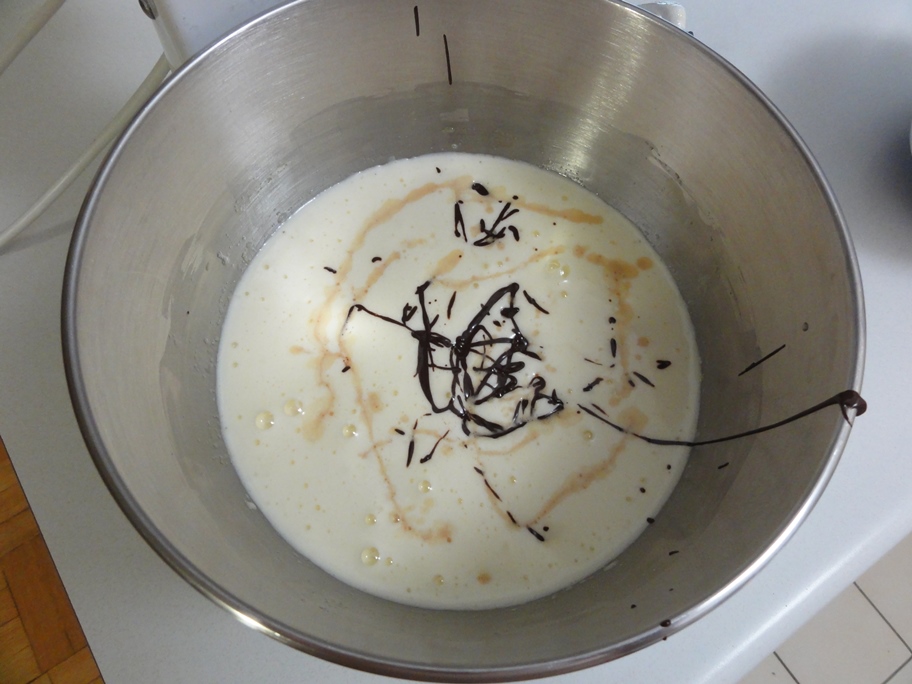
The “ribbon consistency” is foamy and thick, lots of air bubbles, and tends to stick to the whisk.

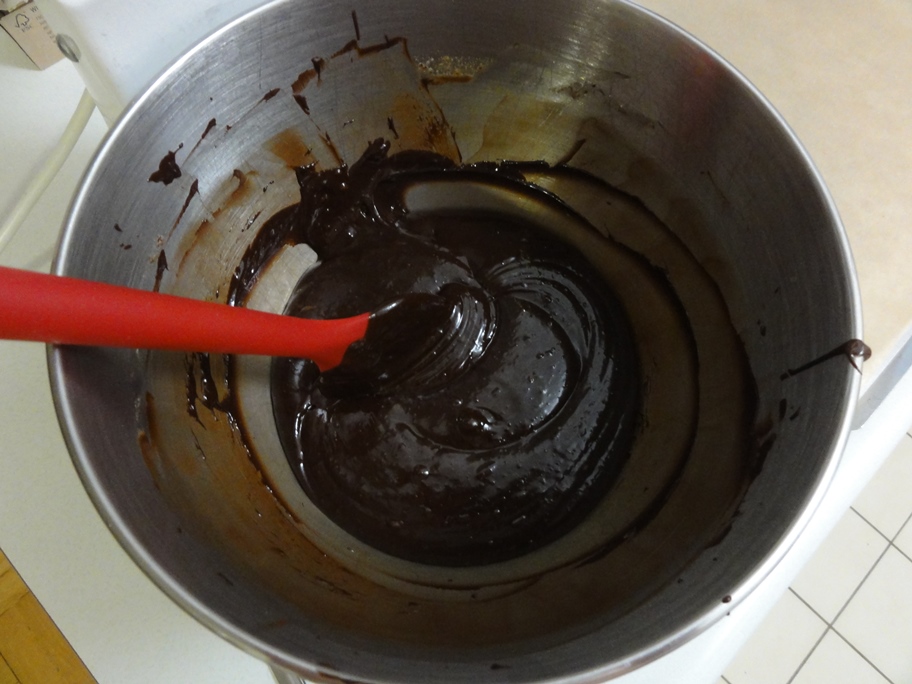
The chocolate and vanilla will disappear into the eggs and sugar, but a minute or so of mixing together and we have something special going on here.
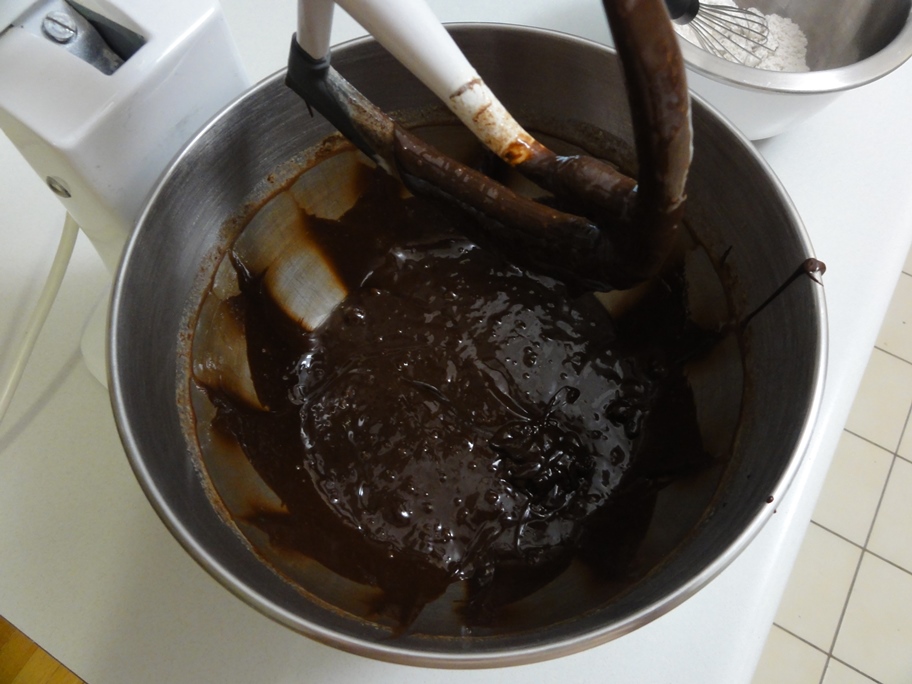
Add in the dusting of flour.
Letting the cookie dough set for a few minutes allows the chocolate to cool and the dough solidify so that it’s easier to work with.
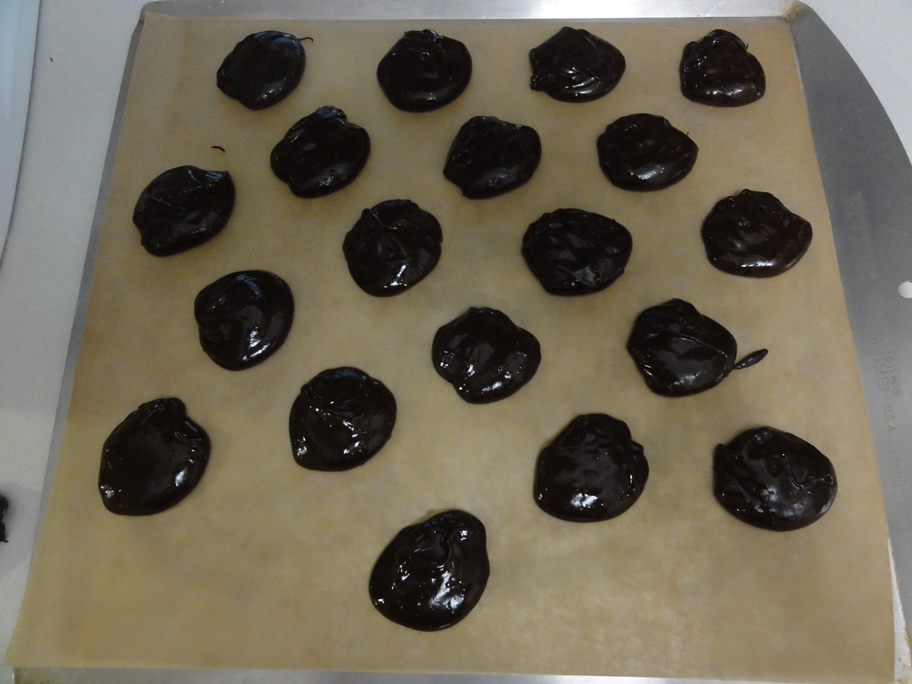
The dough will still be fairly liquid and that helps the cookies naturally flatten out into sandwich cookie shape. The cookies will spread a little, so you’ll want to give them some room.
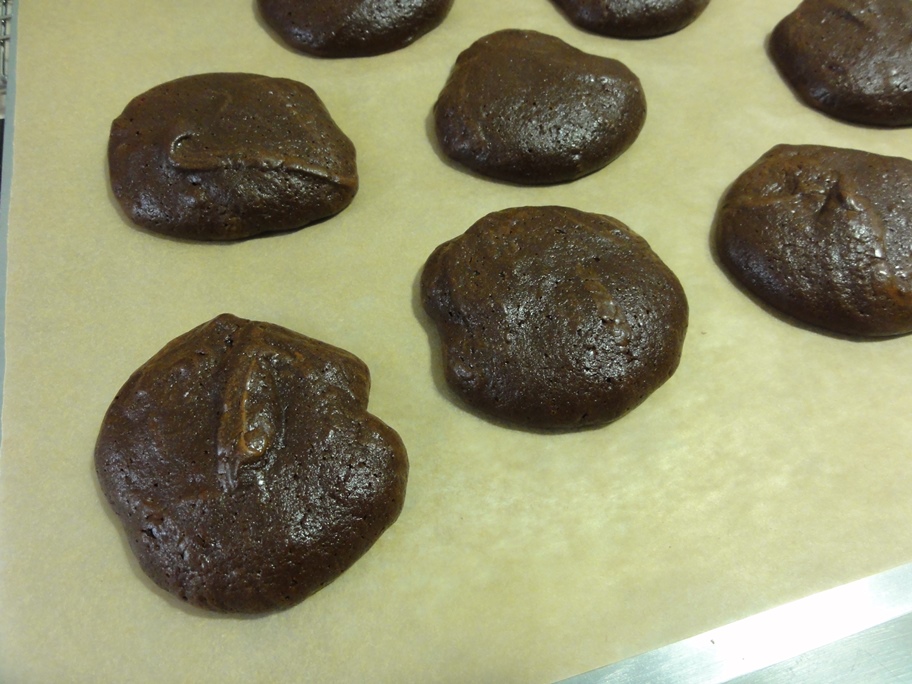
Fresh out of the oven the cookies will appear and feel a little spongy.
Filling
The name “buttercream frosting” seems misleading to me because there is very little butter involved.
Icing sugar tends to go everywhere if you add too much at a time. I added 1/2 cup between each step of mixing together.
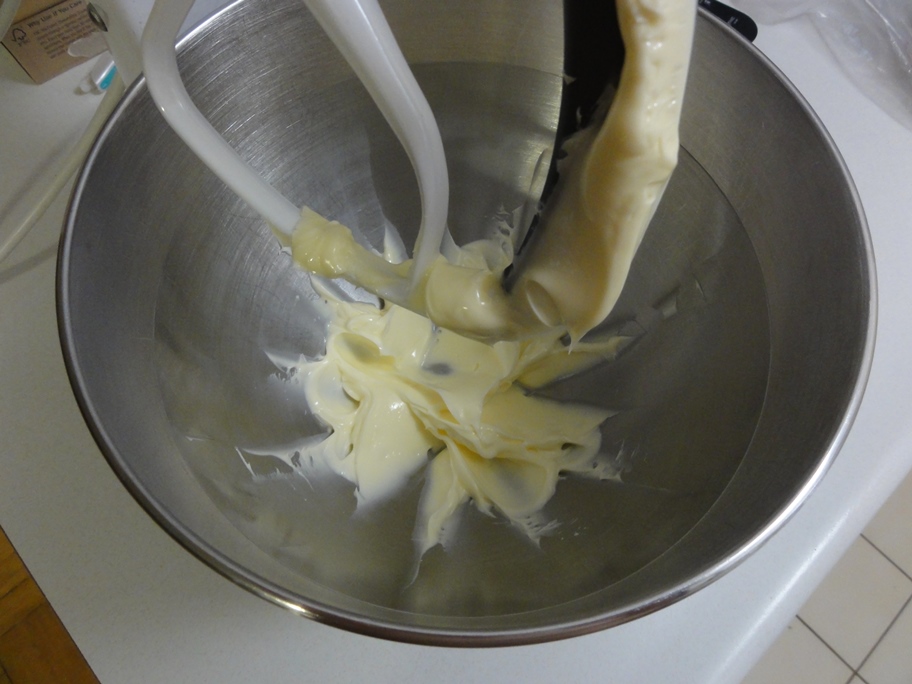
Action shot!
Adding the maple syrup half-way through ensures that it will be thoroughly blended with the remaining sugar to come.
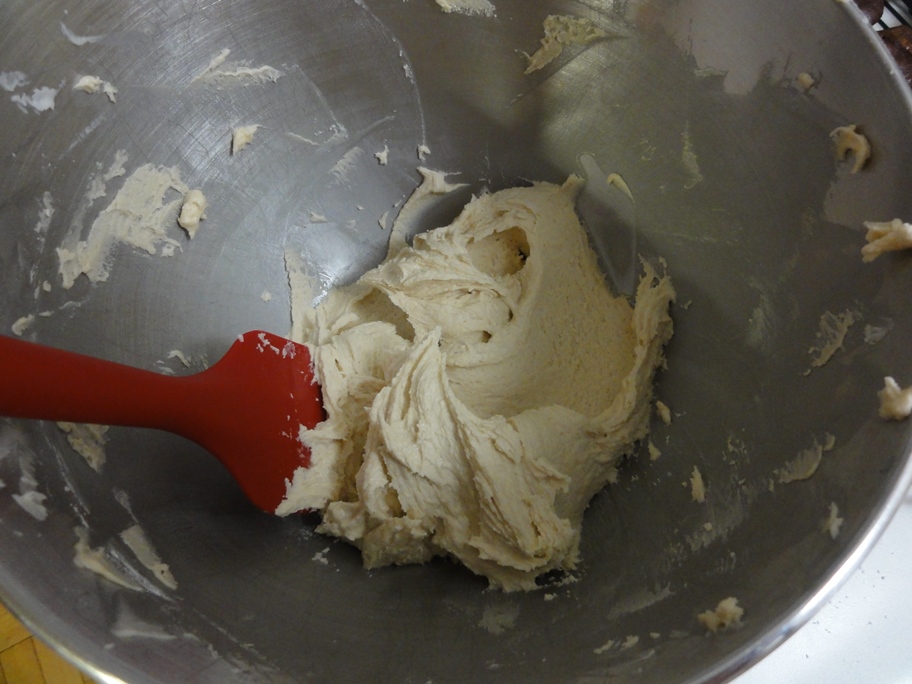
When you’re done the frosting should be fluffy and hold itself up. It will also be delicious and it should be impossible to resist a taste test.
Sandwiching
Start with a tray of cookies once they’ve cooled to room temperature, and a tub of frosting.

Spread at least 2 tablespoons of frosting on the back of a cookie, but really however much you feel like (in other words: the more the better!).
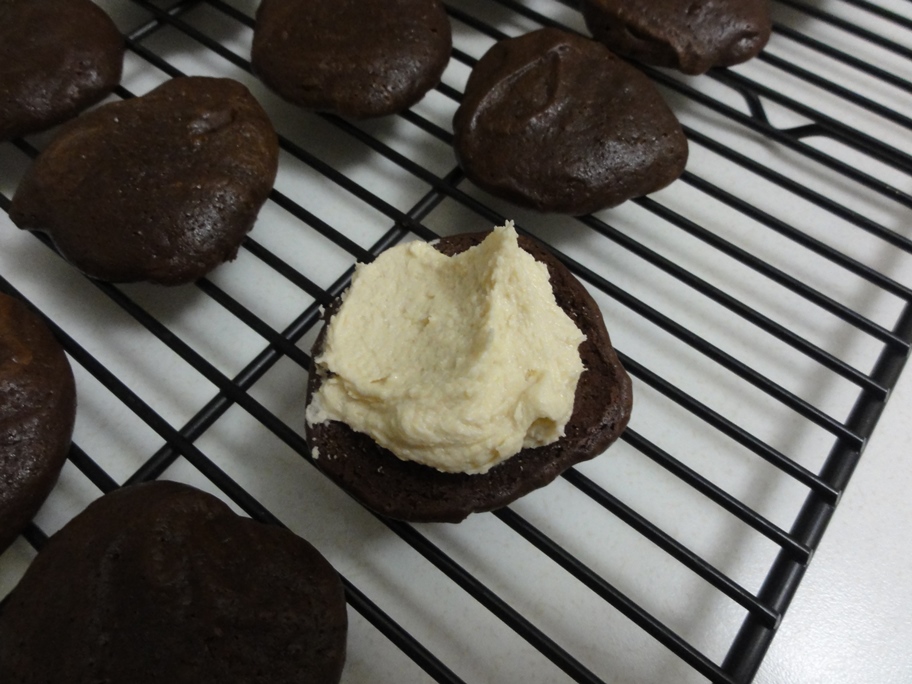
The technical term for pressing another cookie on top of the frosting and forming a sandwich cookie is “smooshing”.
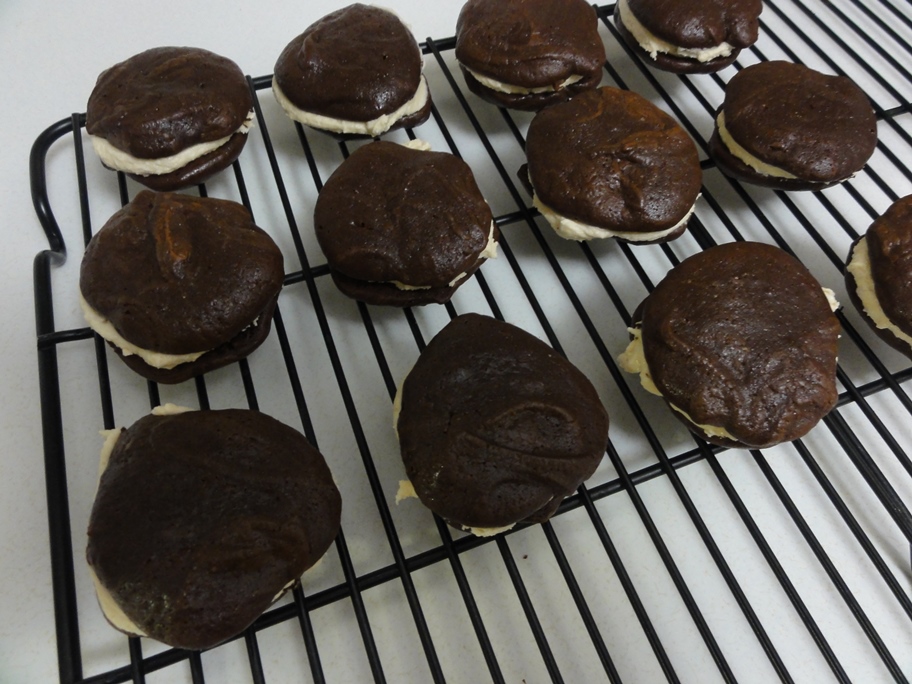
Repeat!
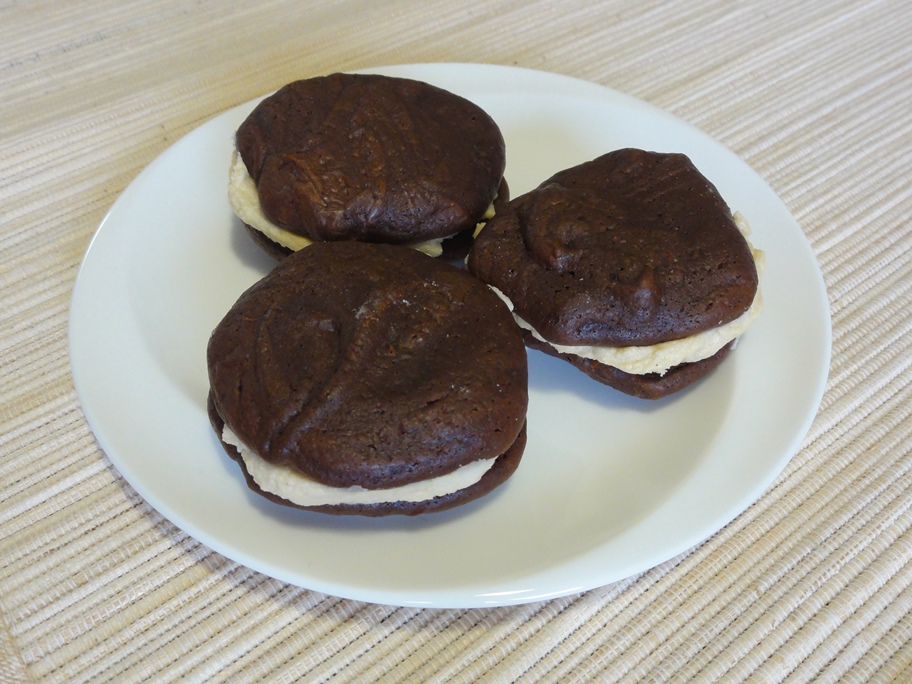
The requisite “three cookies on a plate” photo for this recipe is either three cookies or six depending on how you look at it, but either way it’s a plate of deliciousness!

Fair Oaks Parkinsons support group
May 17, 2014 at 6:10 pm
Love the egg yolk smiley face! 🙂